Manage Groups: Create, Edit, or Delete
Add or remove group members as needed. Note: Groups can only be edited if they were not created using a rostering service (Clever, Classlink, Google, etc).
Last updated 24 days ago
Getting Started
From your homepage, locate ‘Manage Groups’ on the submenu.

Create a Group
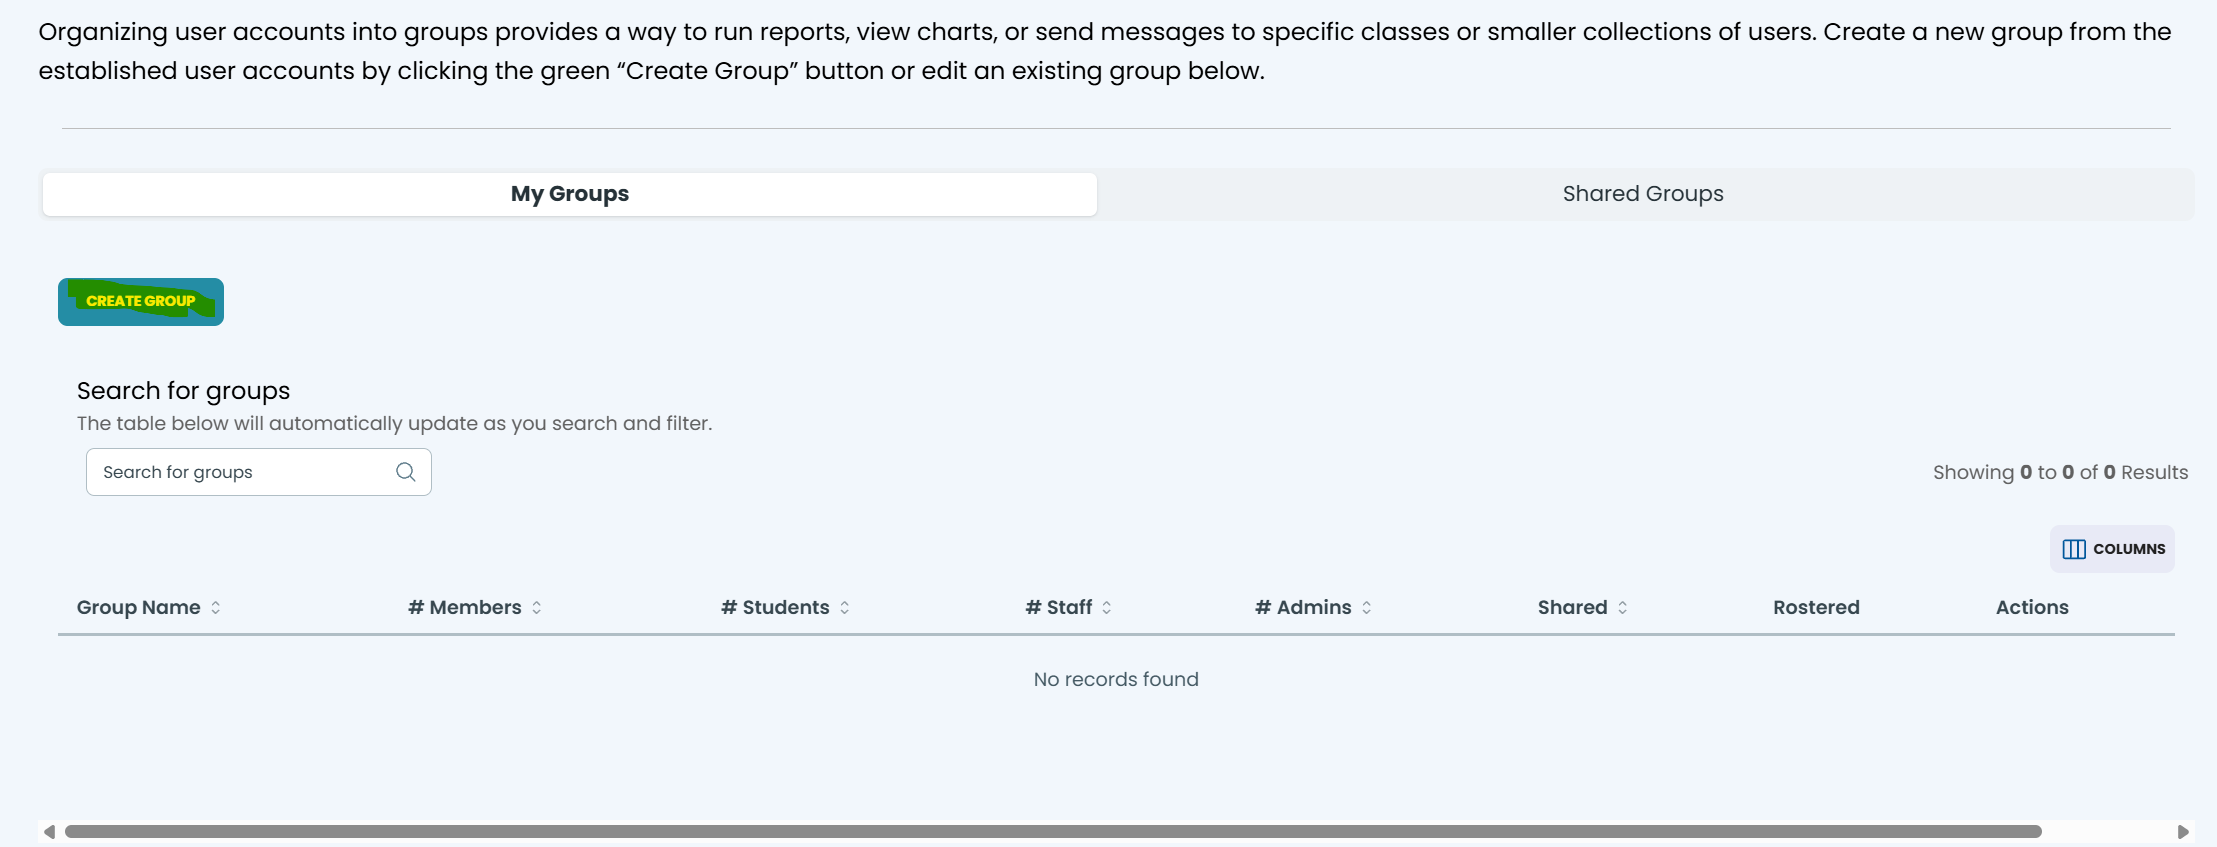
Select Create Group.
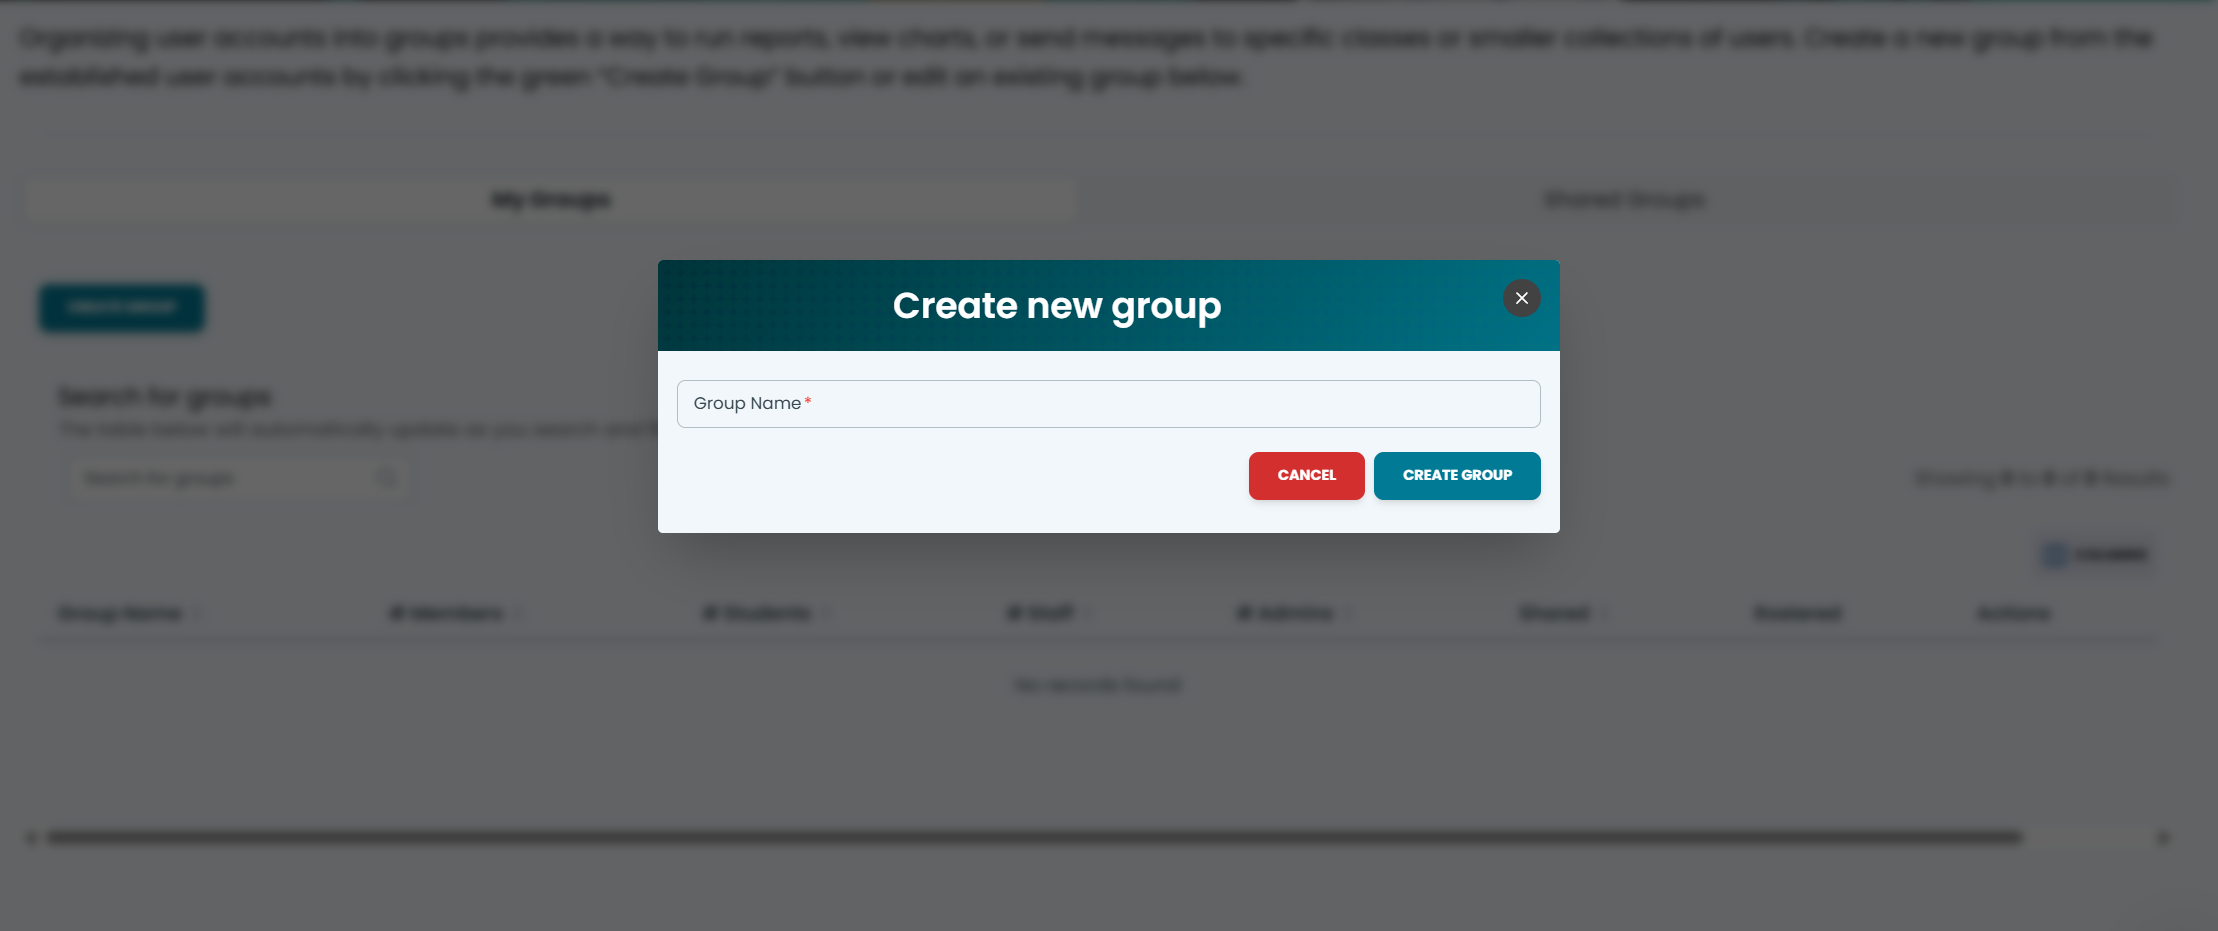
In the popup, enter a Group Name and click ‘Create Group’.
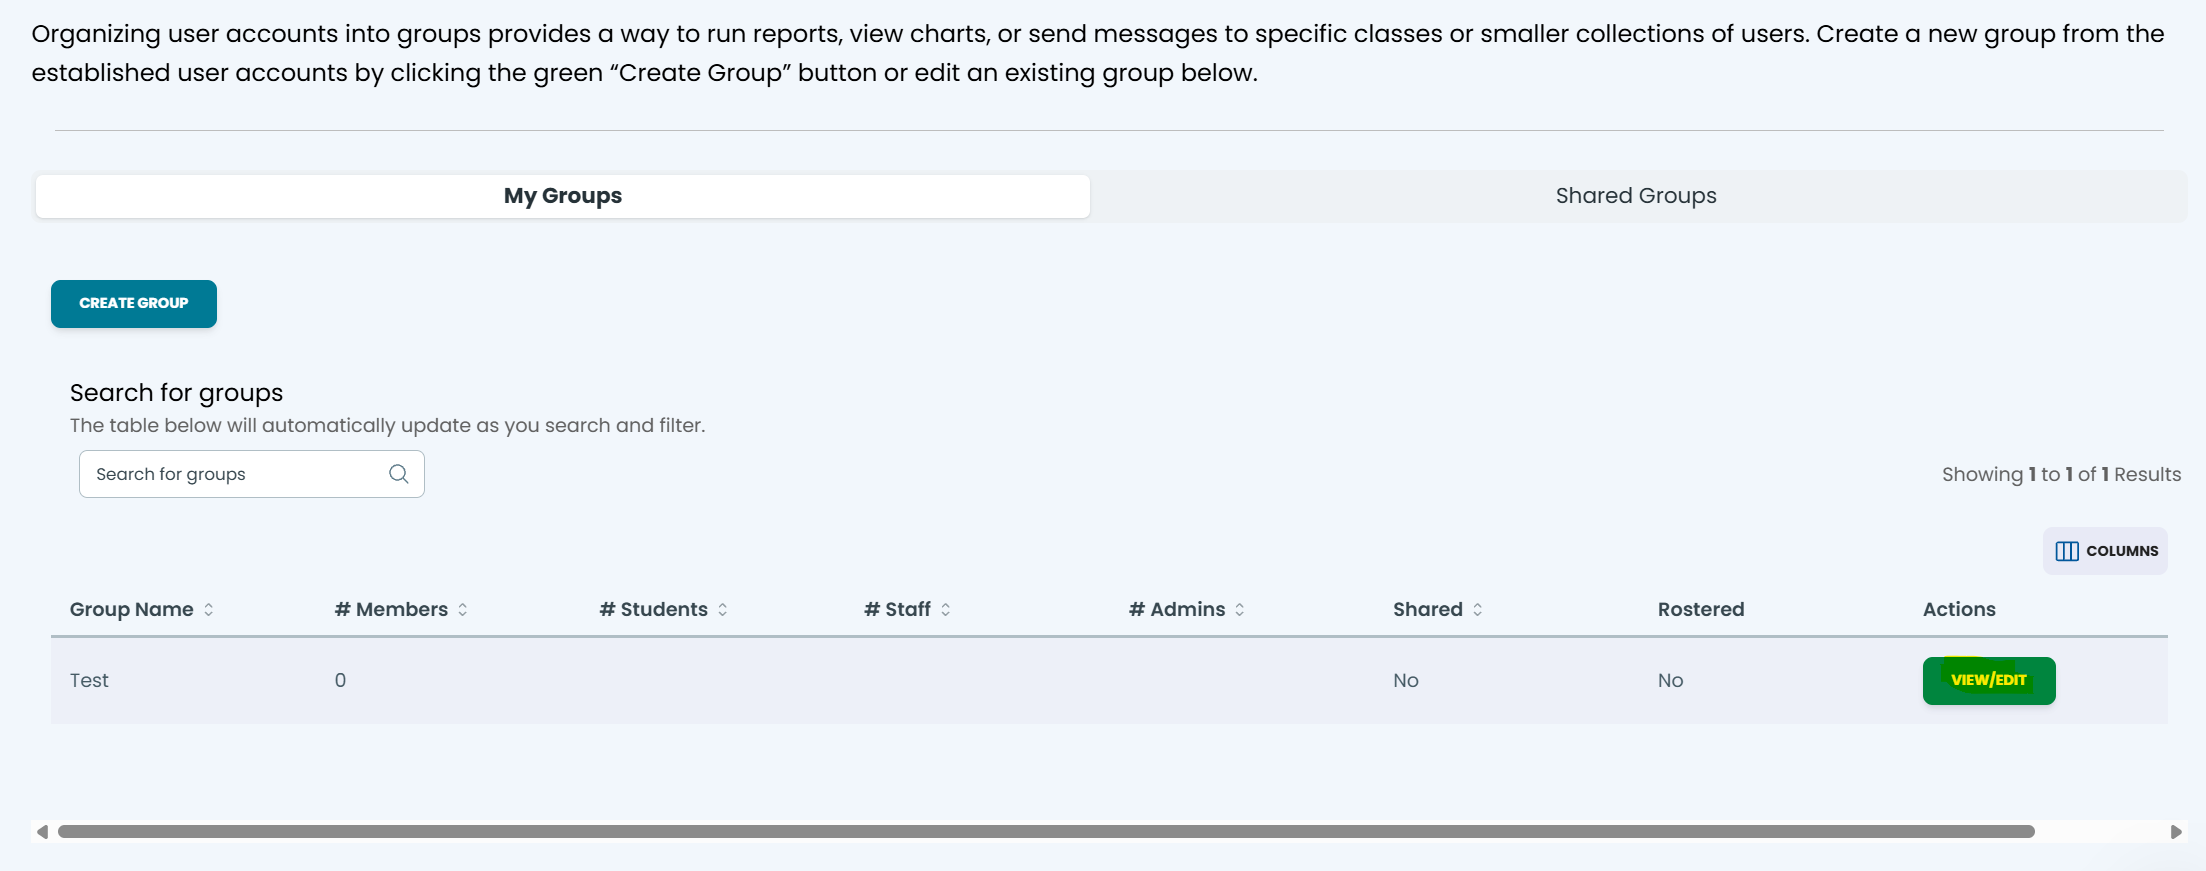
Edit Group:
Under the Actions column, select View/Edit.
Add Group Members
To add new members to a group:
Select the Edit button to access the user selection interface.
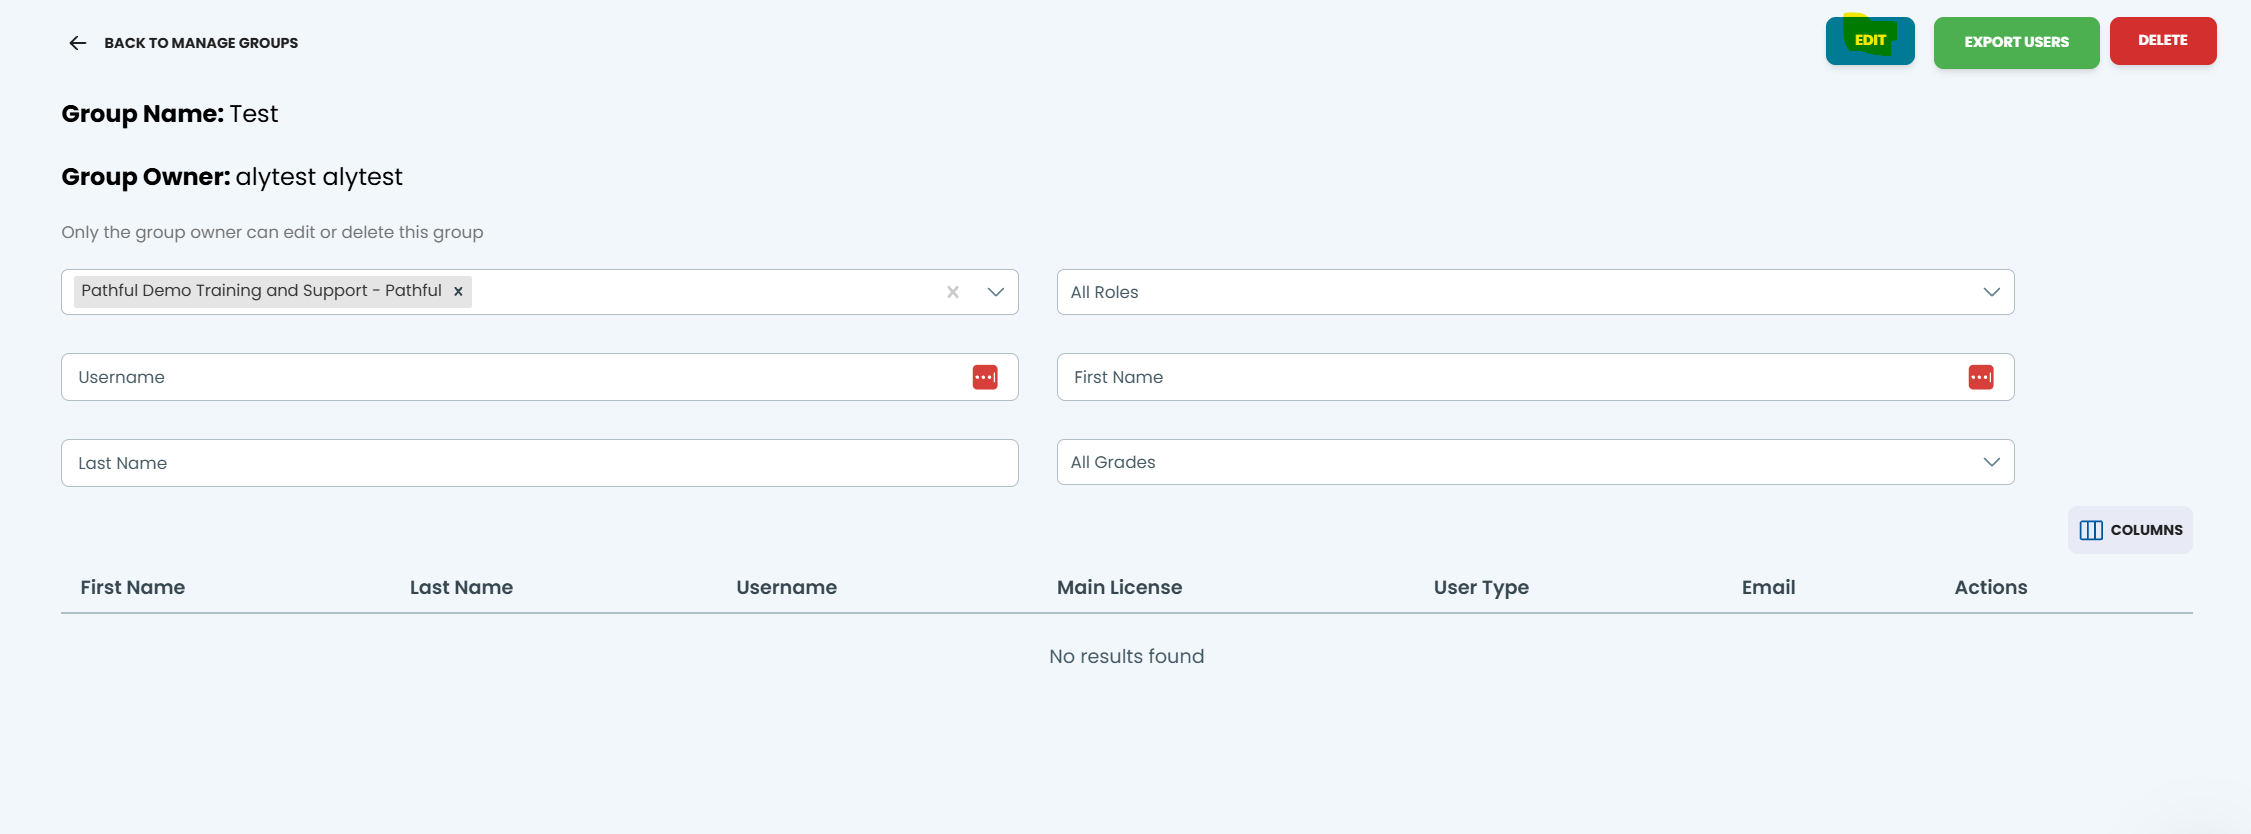
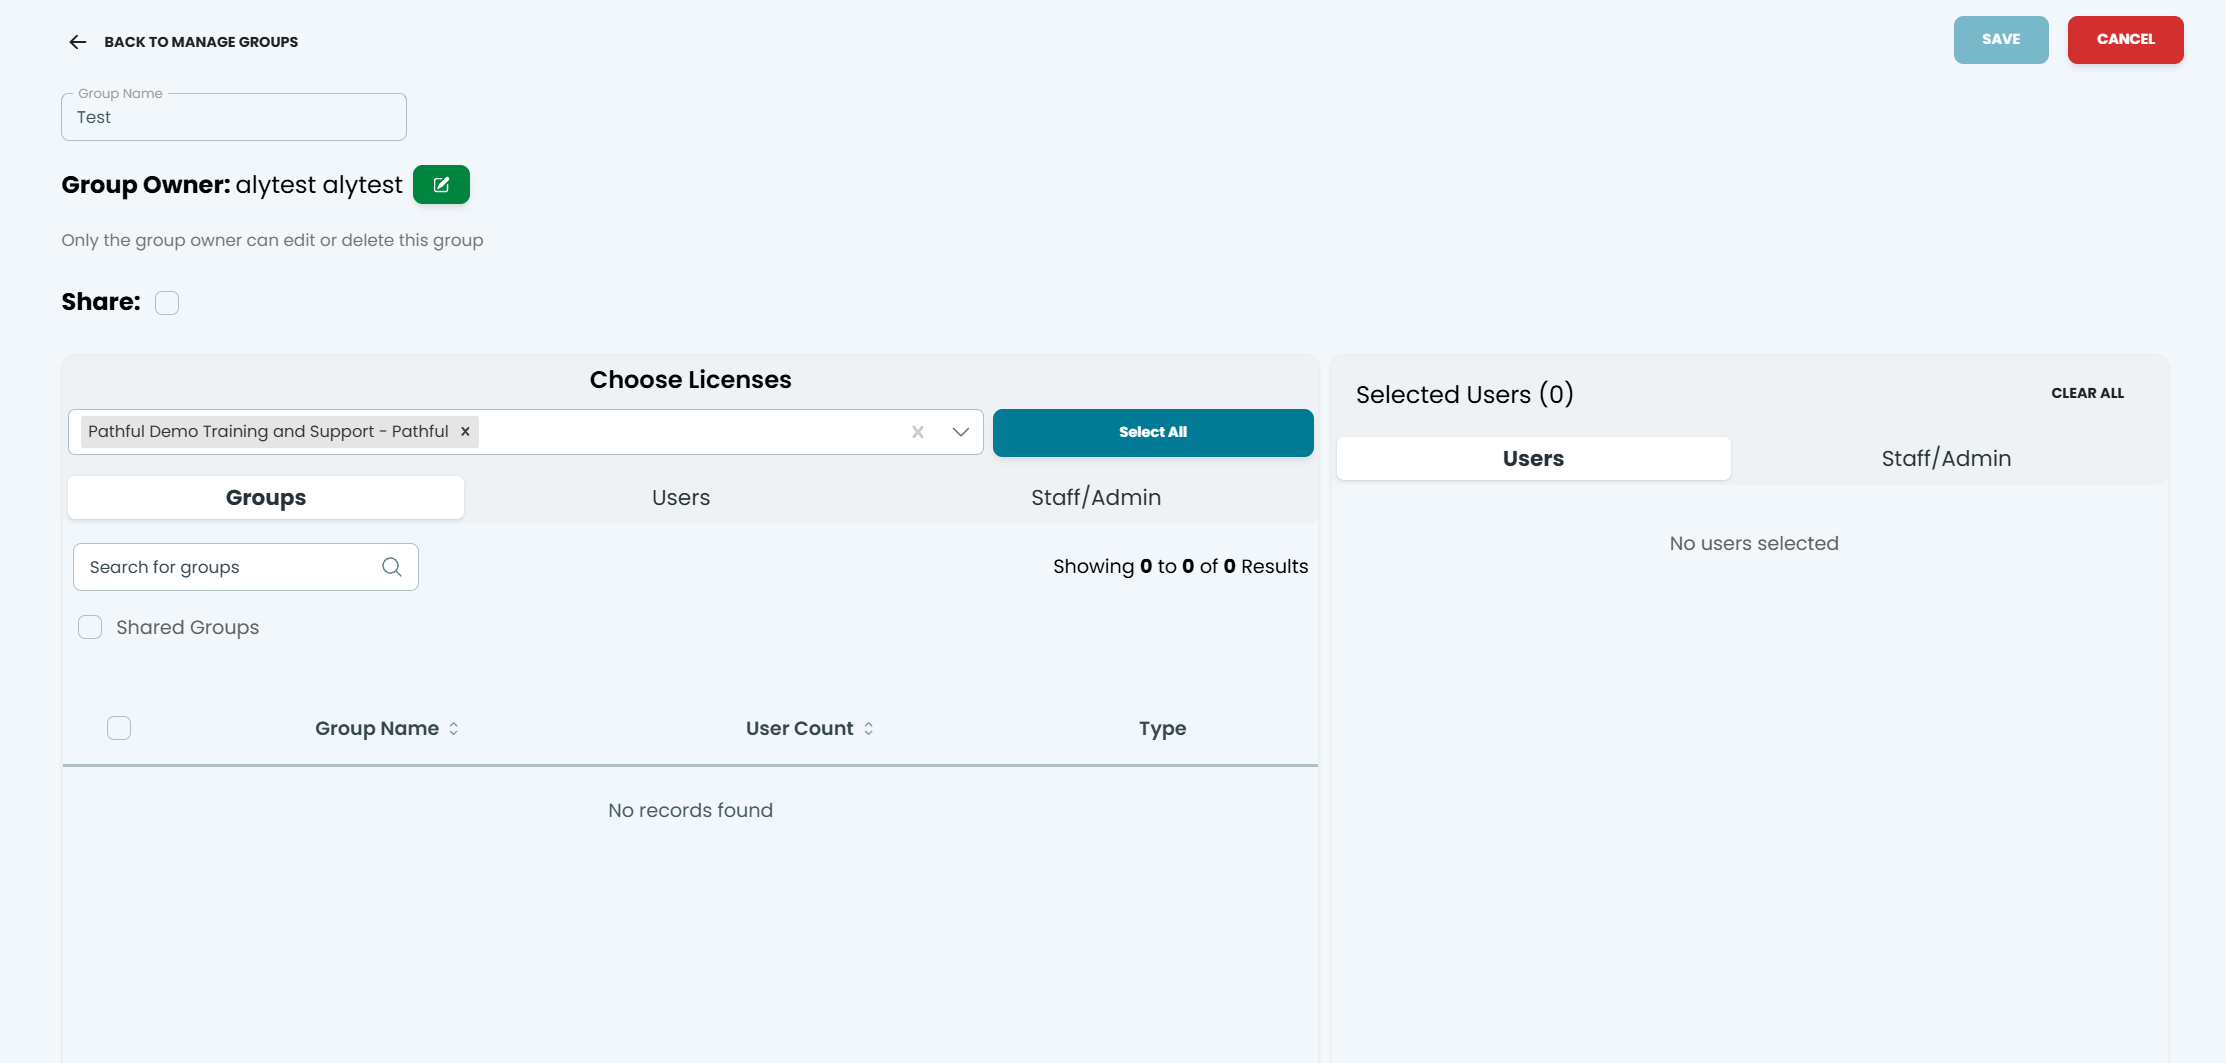
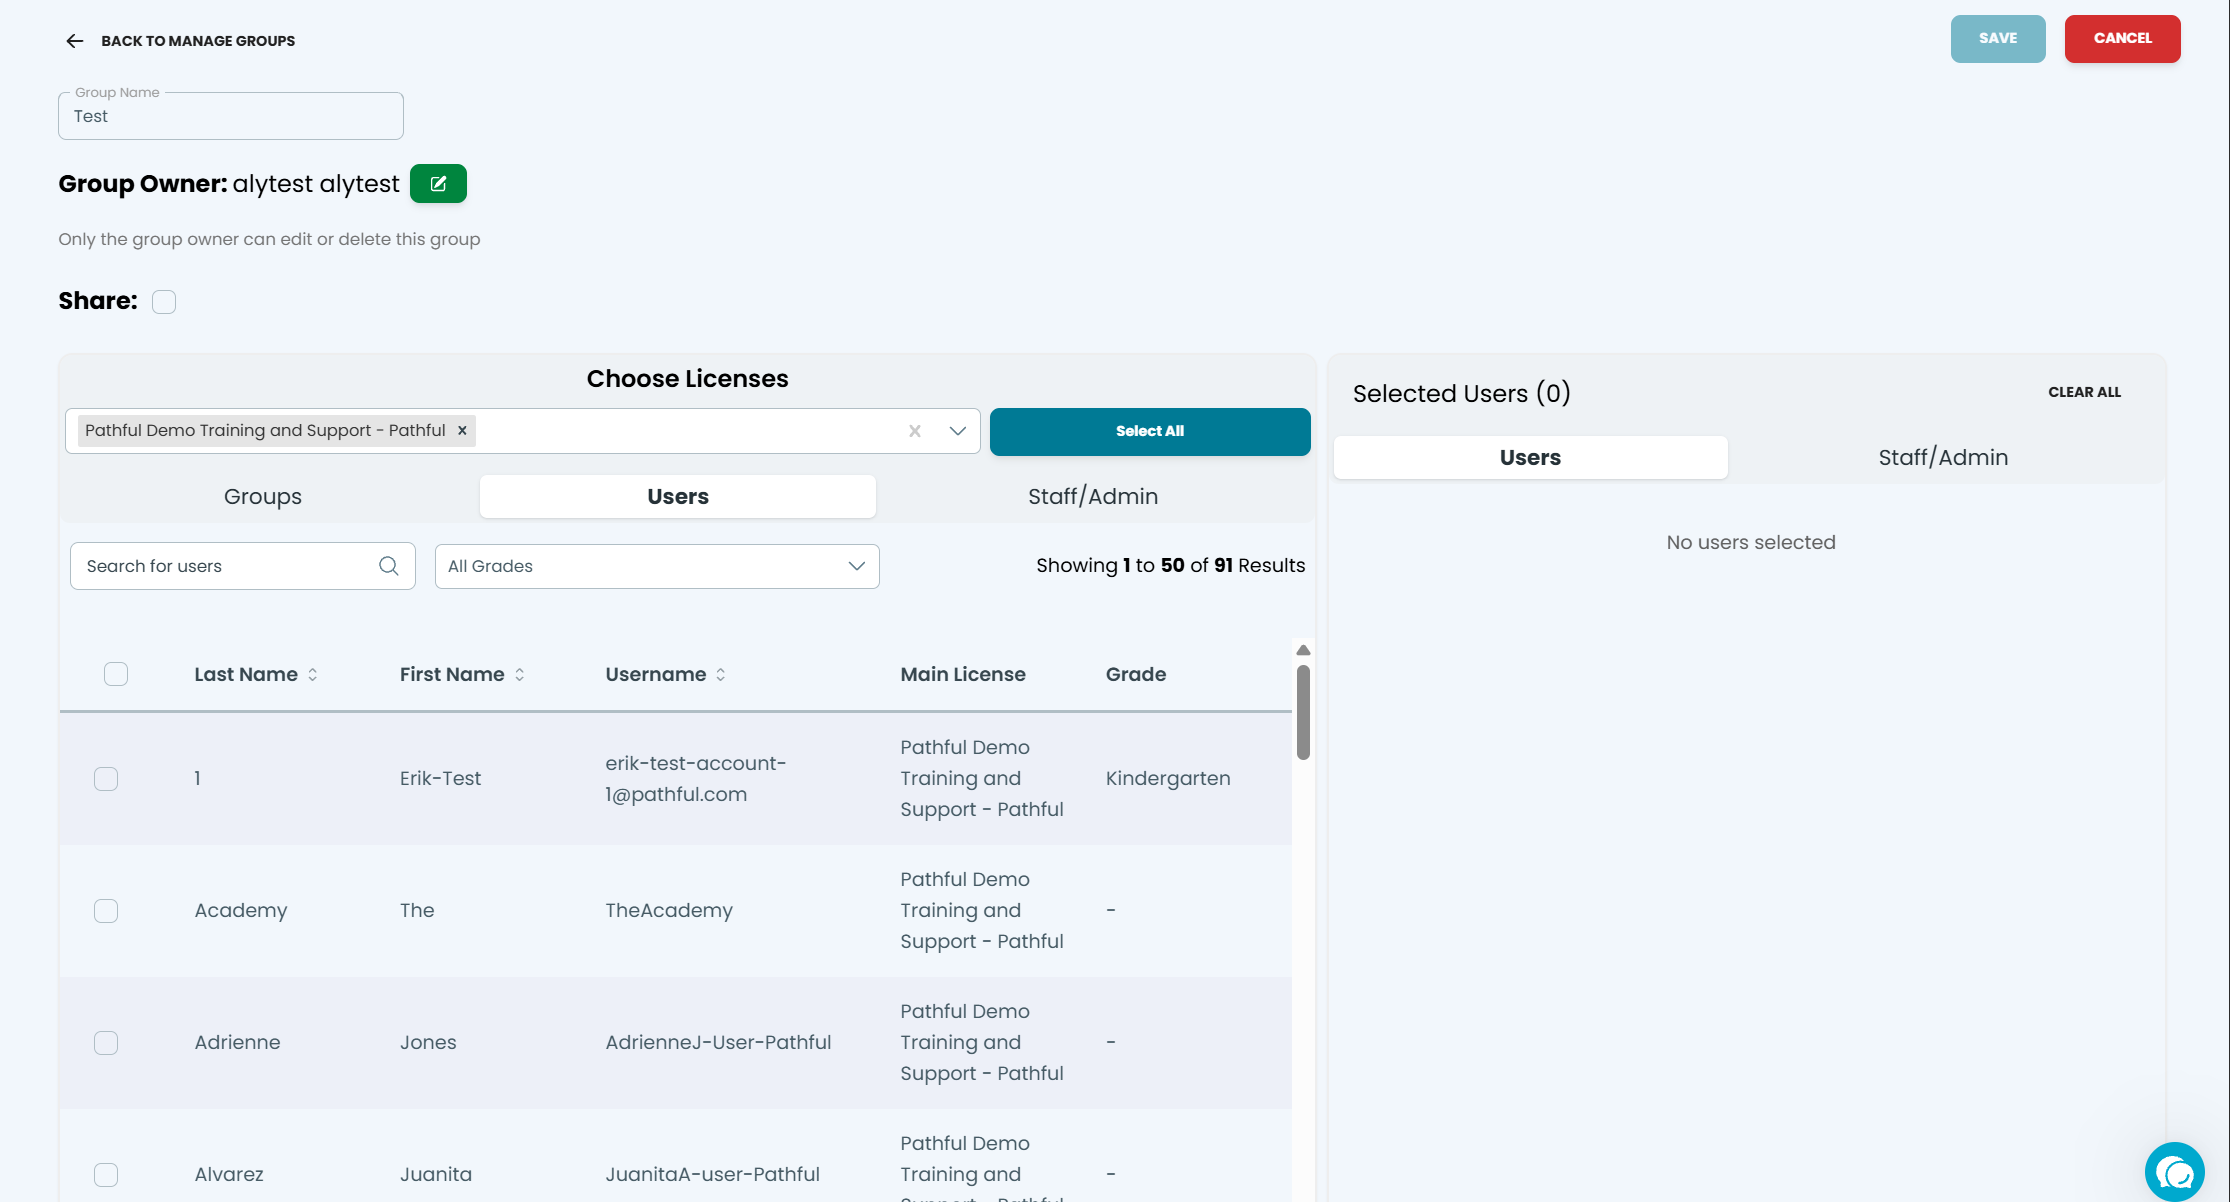
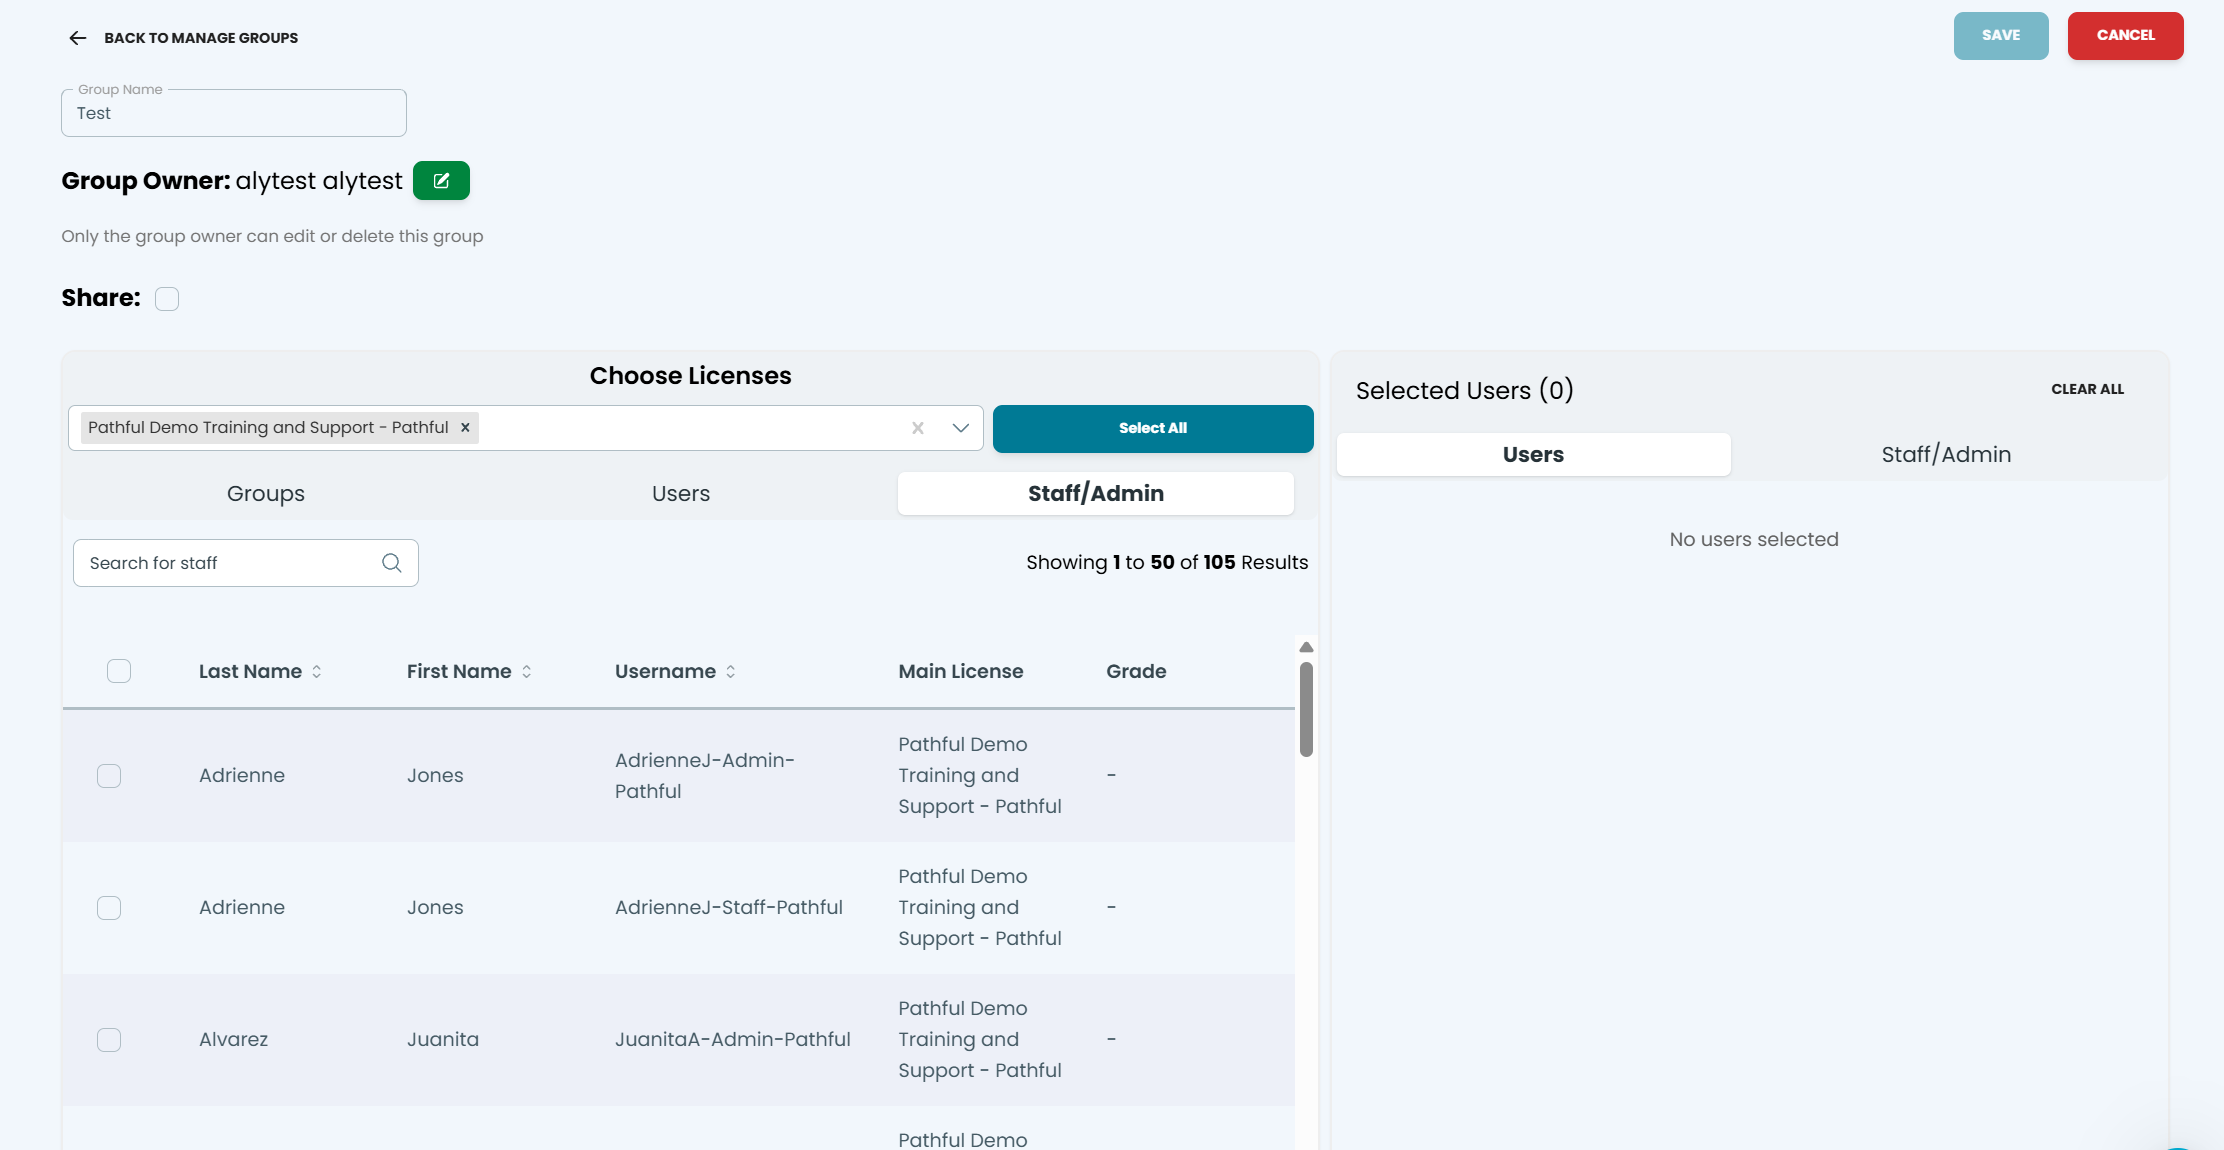
Use the filters to help you locate the user(s) you want to add to the group.
Filter by Group:
Filter by Users:
Filter by Staff:
Select the checkbox next to each user you want to add.
Save your changes to add the selected users to the group.

Remove Group Members
To remove existing members from a group:
Individual Removal can be done one of two ways:
Locate the user you want to remove in the group member list.
Select the trash can icon on the row of that user.
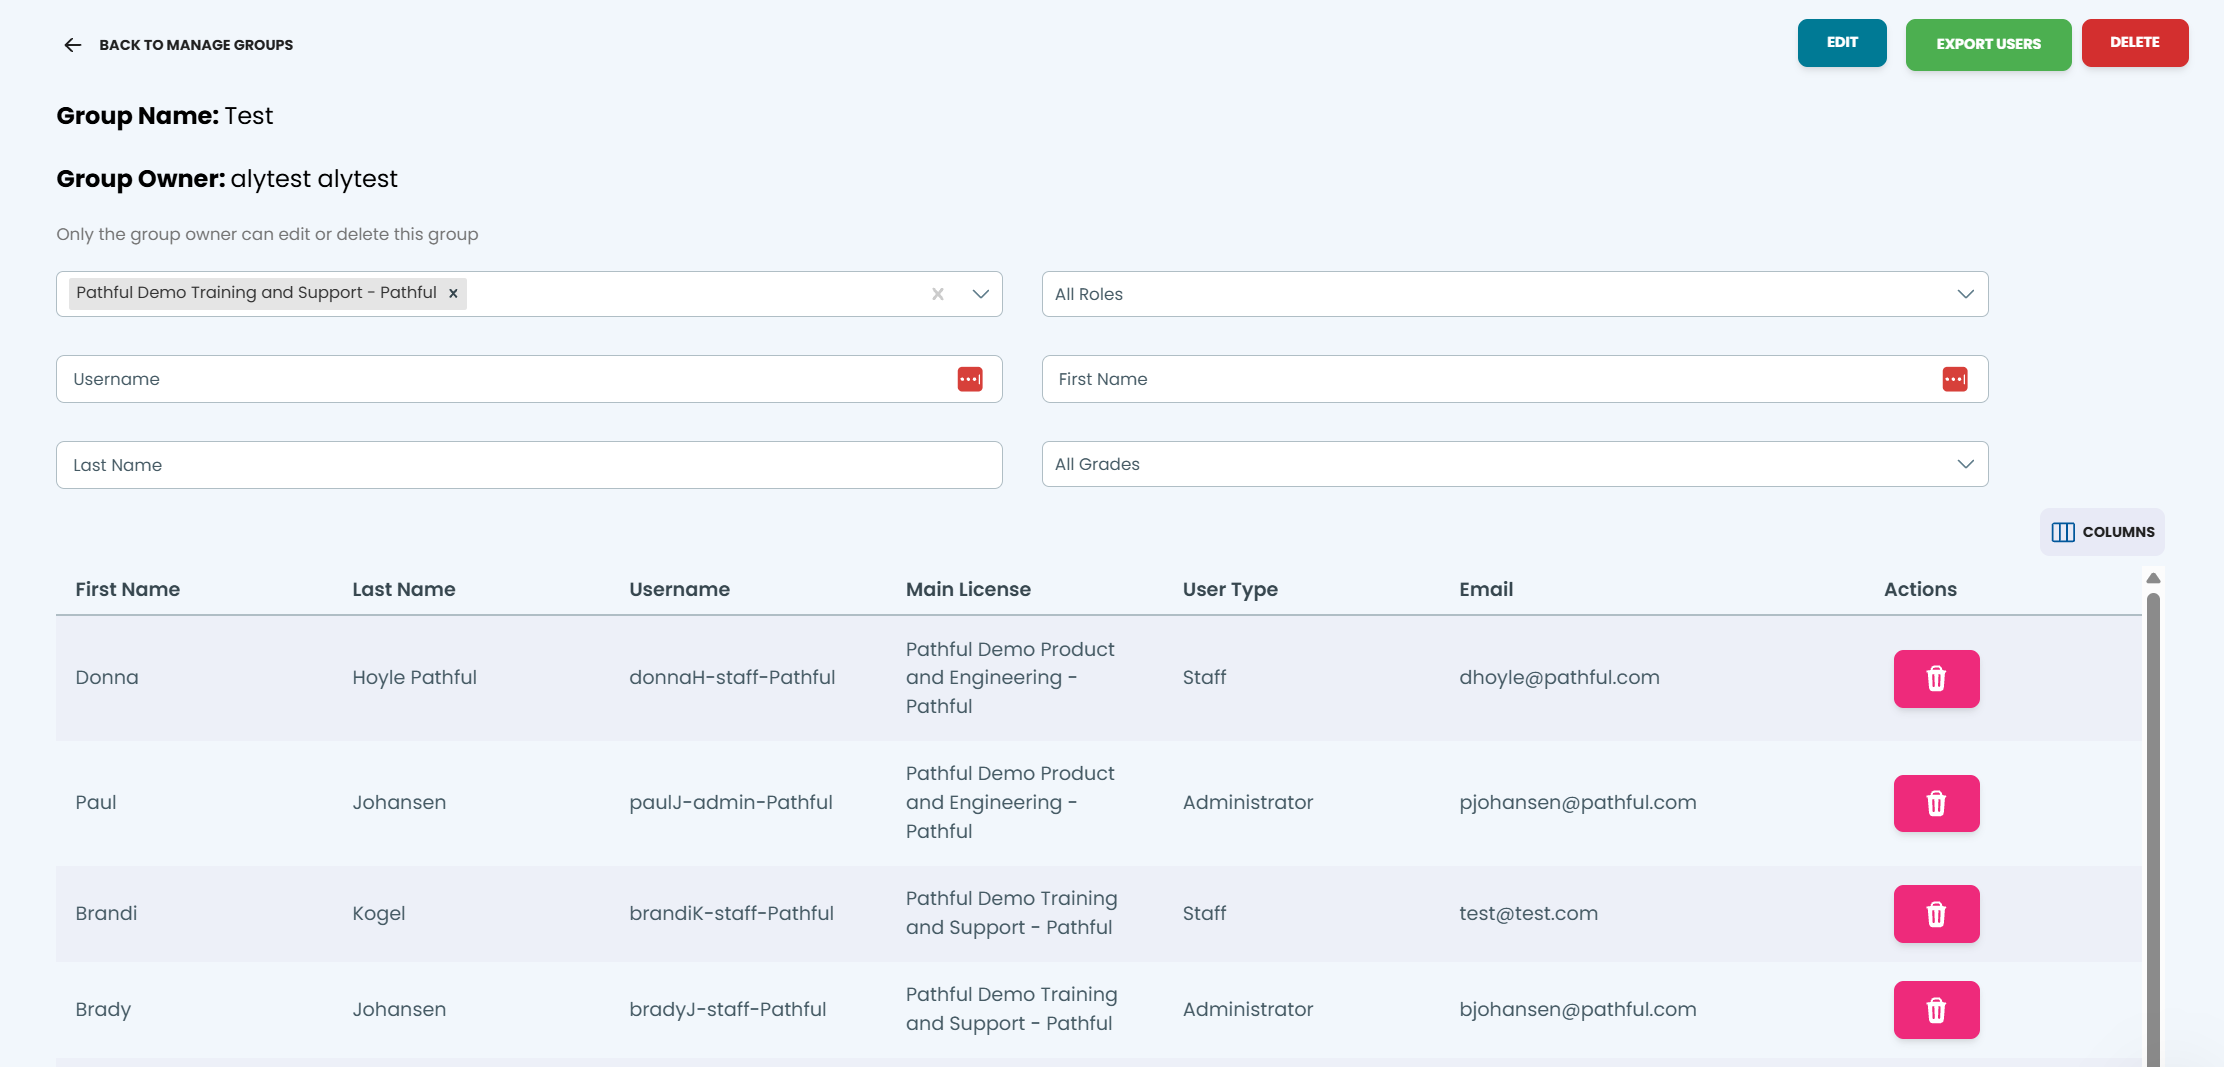
Save your changes.
You can also click the ‘Edit’ button and see the user list. You can click the red x near their name to remove them.
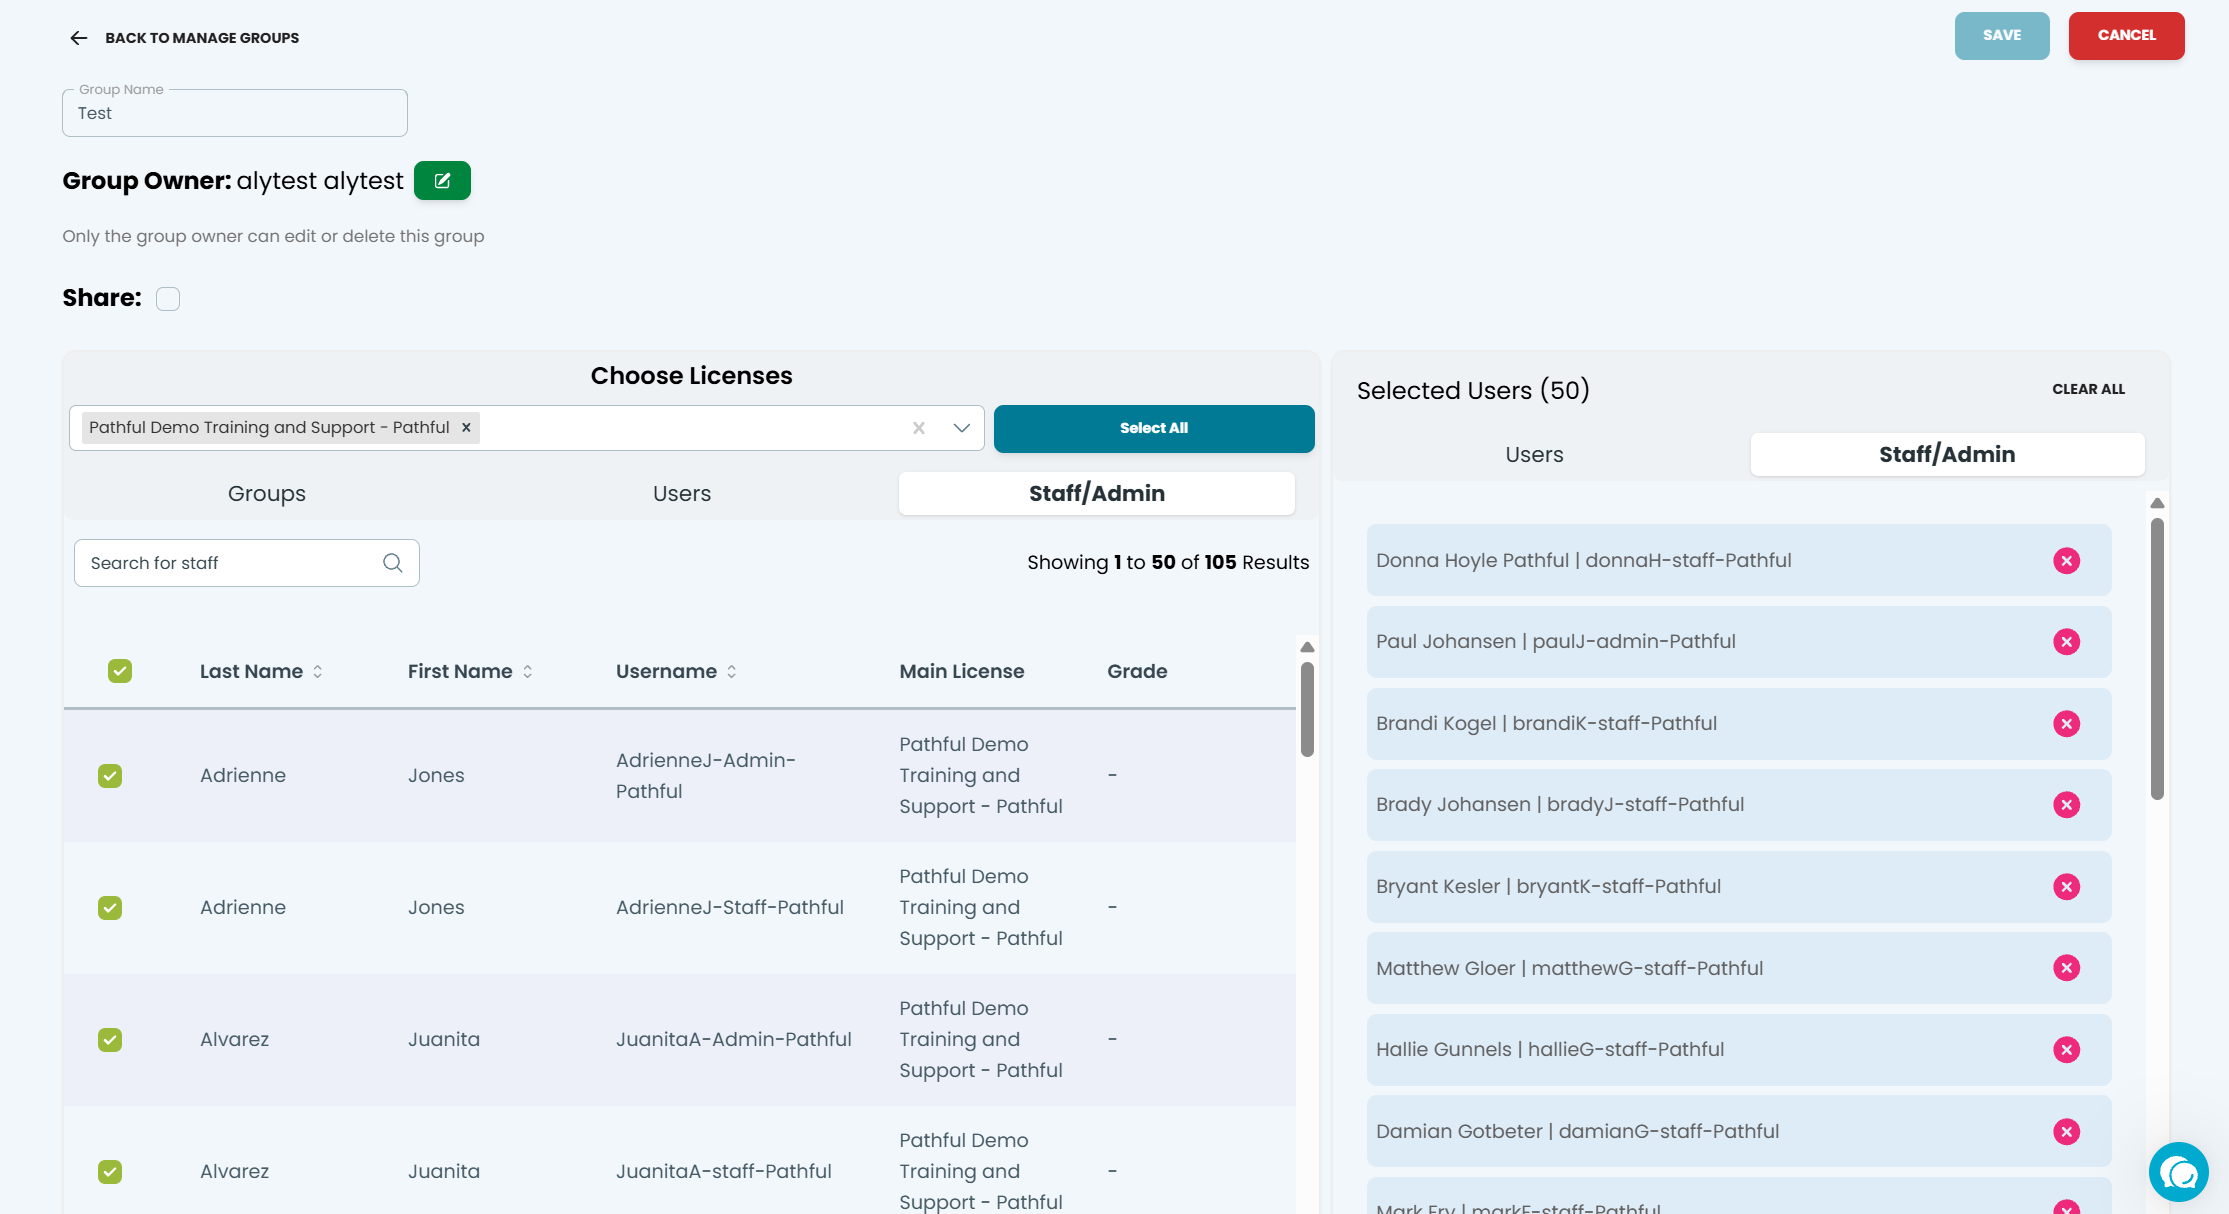
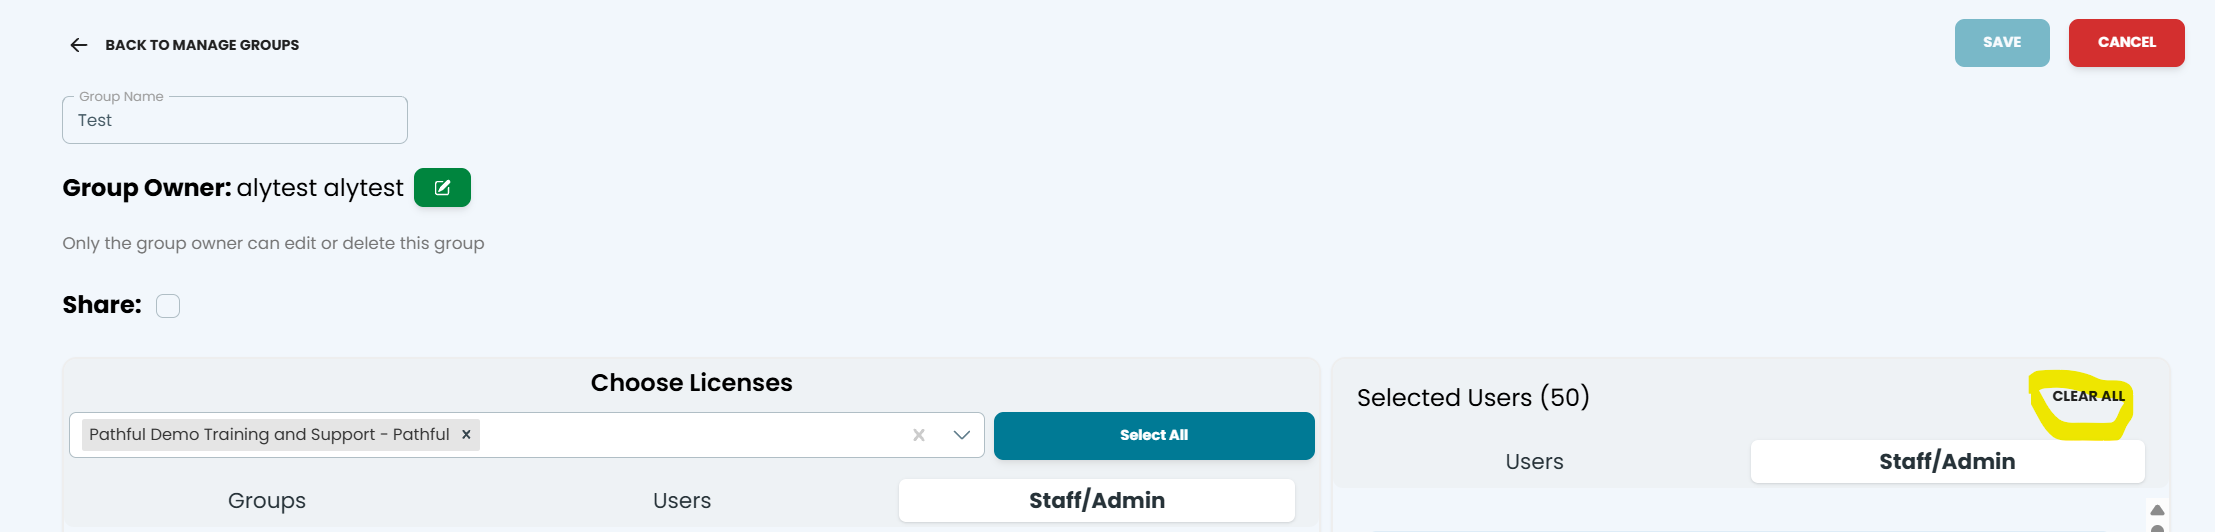
For Bulk deletion, you can click the ‘Clear All’ button:
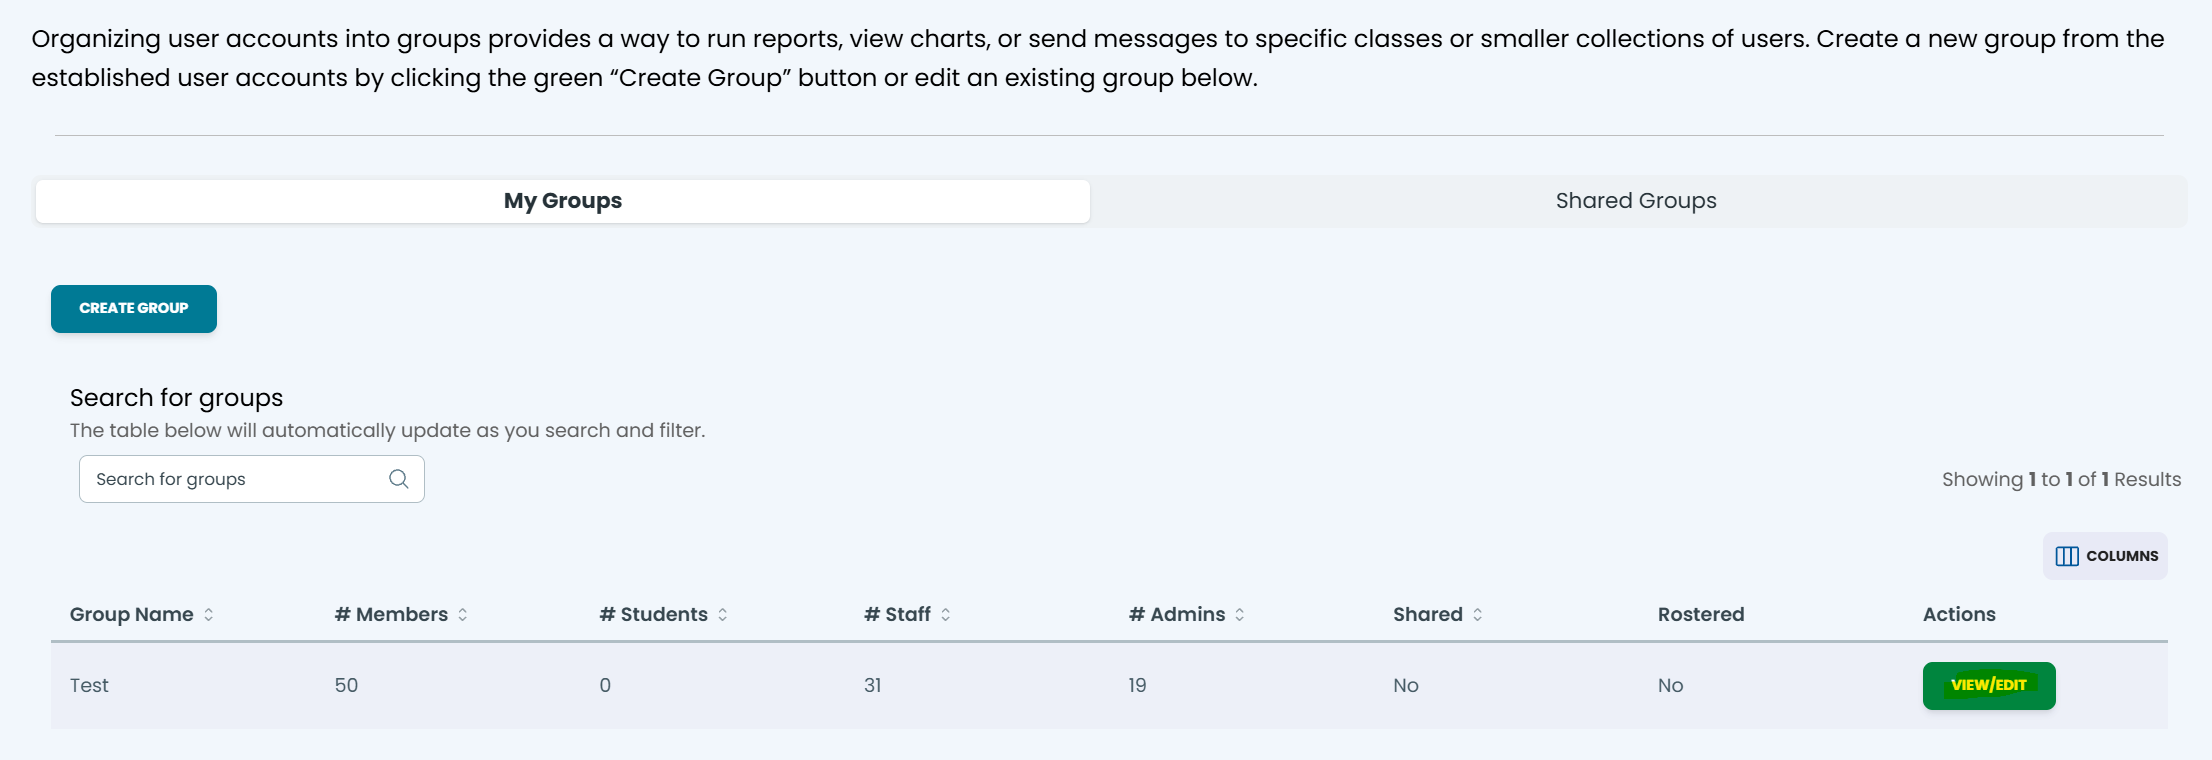
Delete Group:
Under the Actions column, select View/Edit.
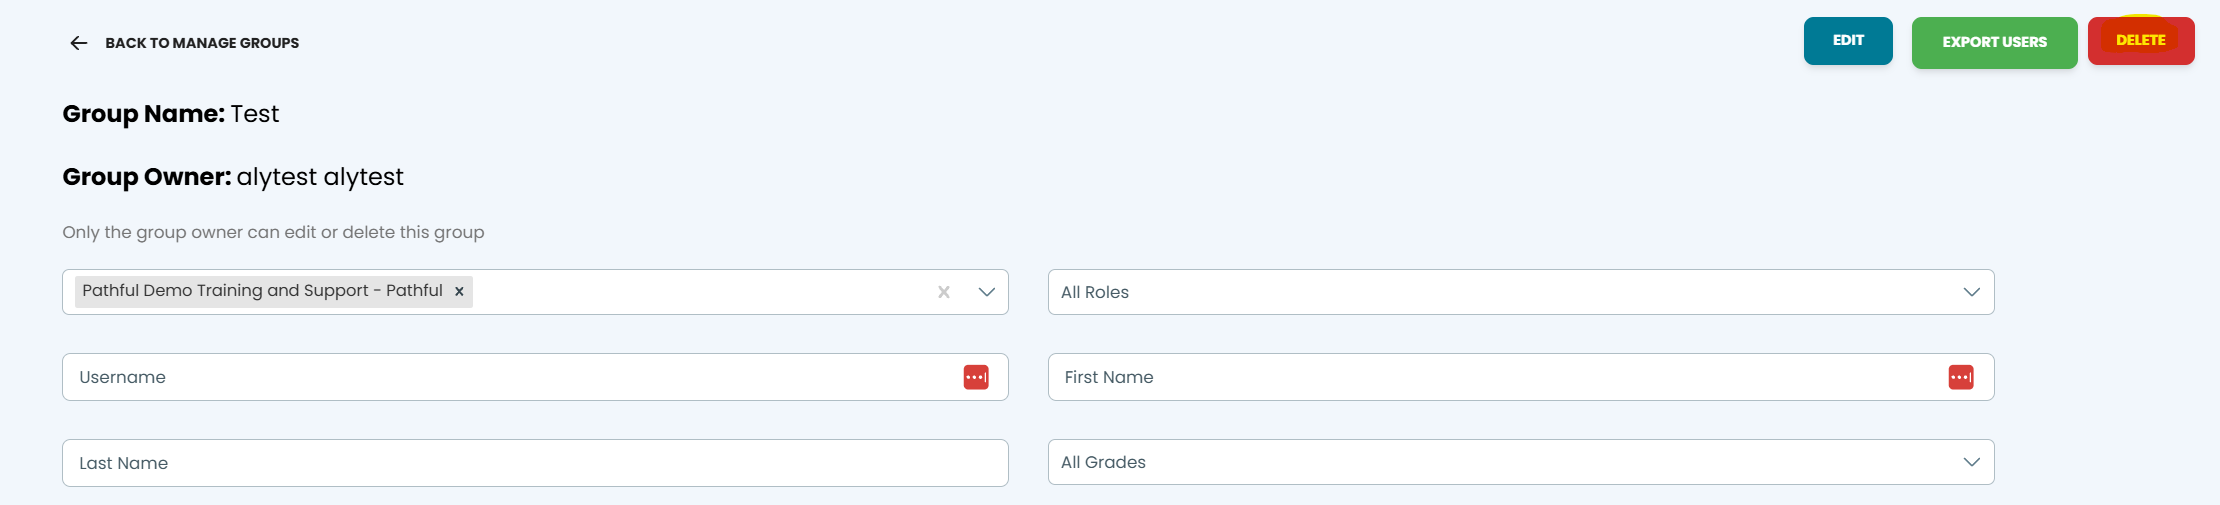
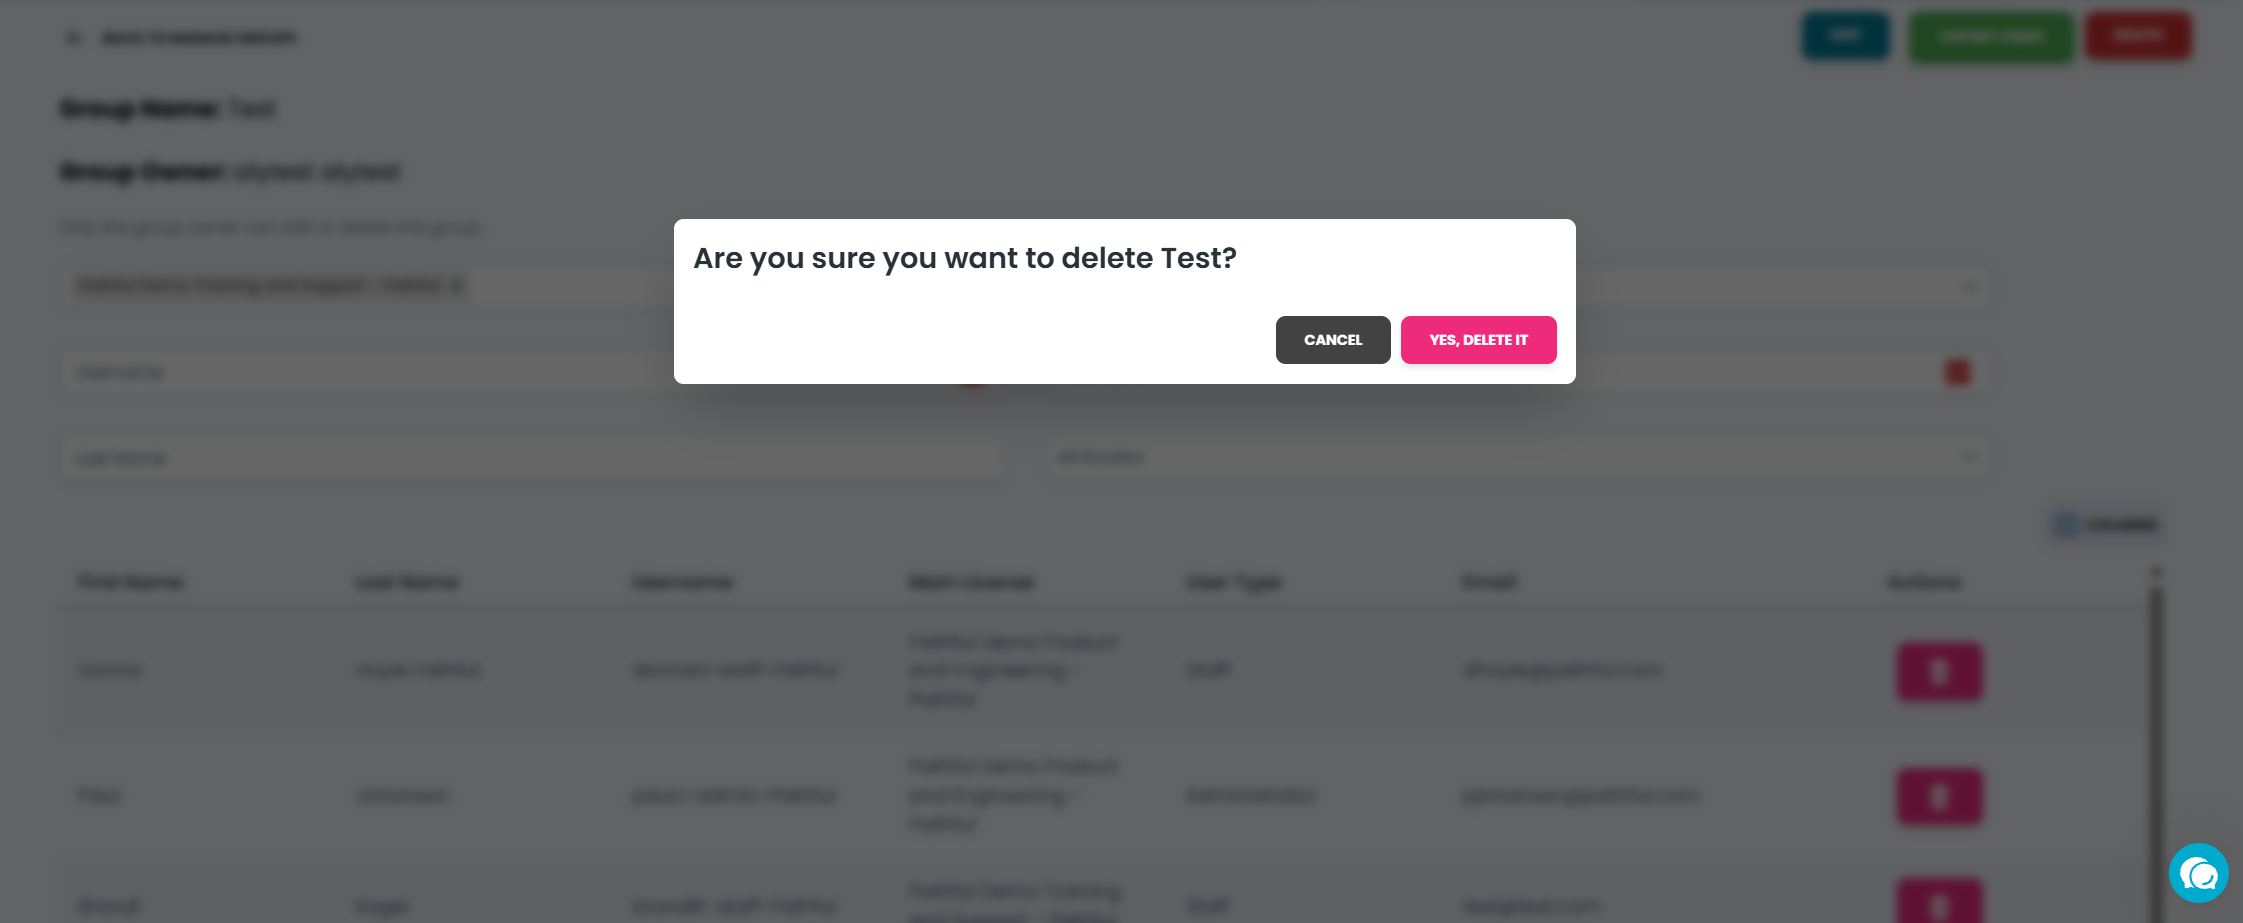
Select Delete.
In the pop up, select ‘Yes’ Delete.
Was this helpful?
Still need help? Ask the team