Manage Users: Add, Edit or Delete
This article explains how to Add and Delete users as well as how to Edit user information. PLEASE NOTE: Any rostered account, including SkillsUSA, would need to be done at the source. Kindly reach out to your administrator, or SkillsUSA Customer Care, for rostering changes.
Last updated 17 days ago
Manage Users:
Select Manage Users from the submenu on the homepage.

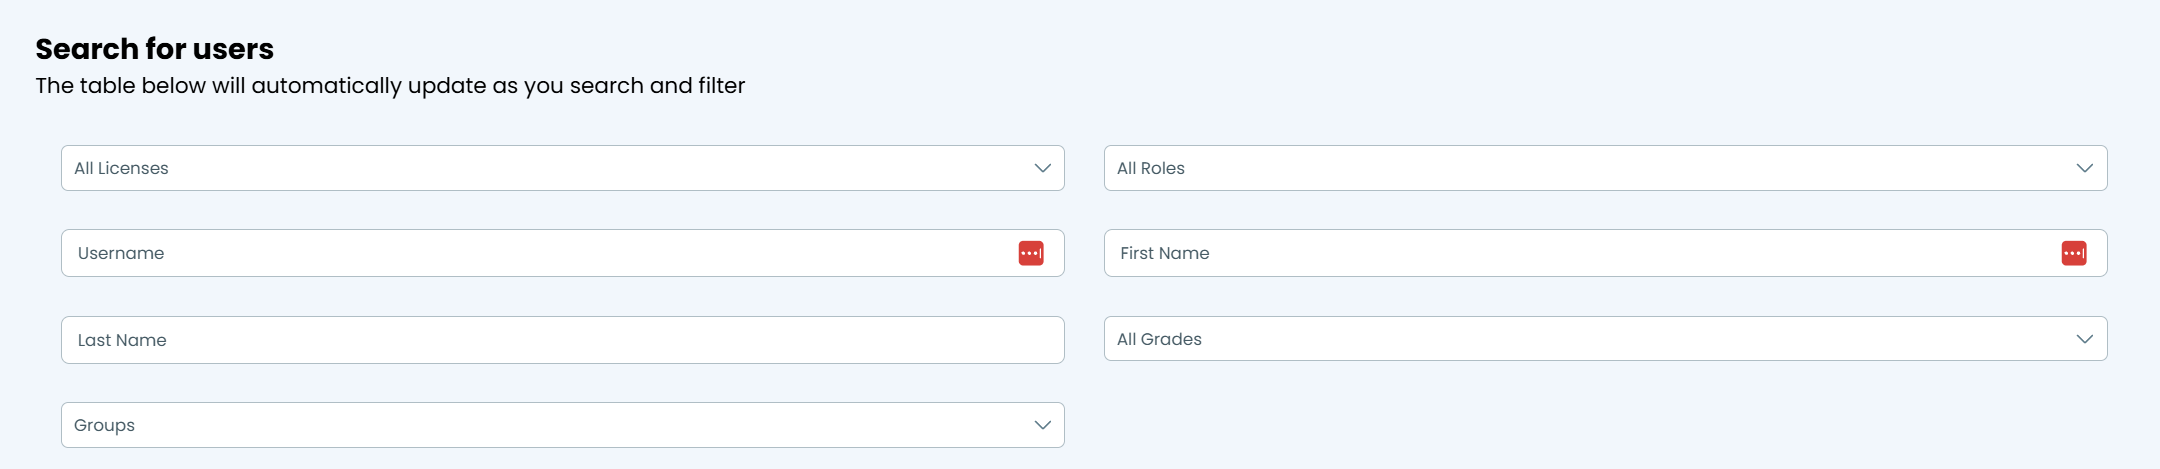
Using any of the filter categories, search for the student.
Add Account:
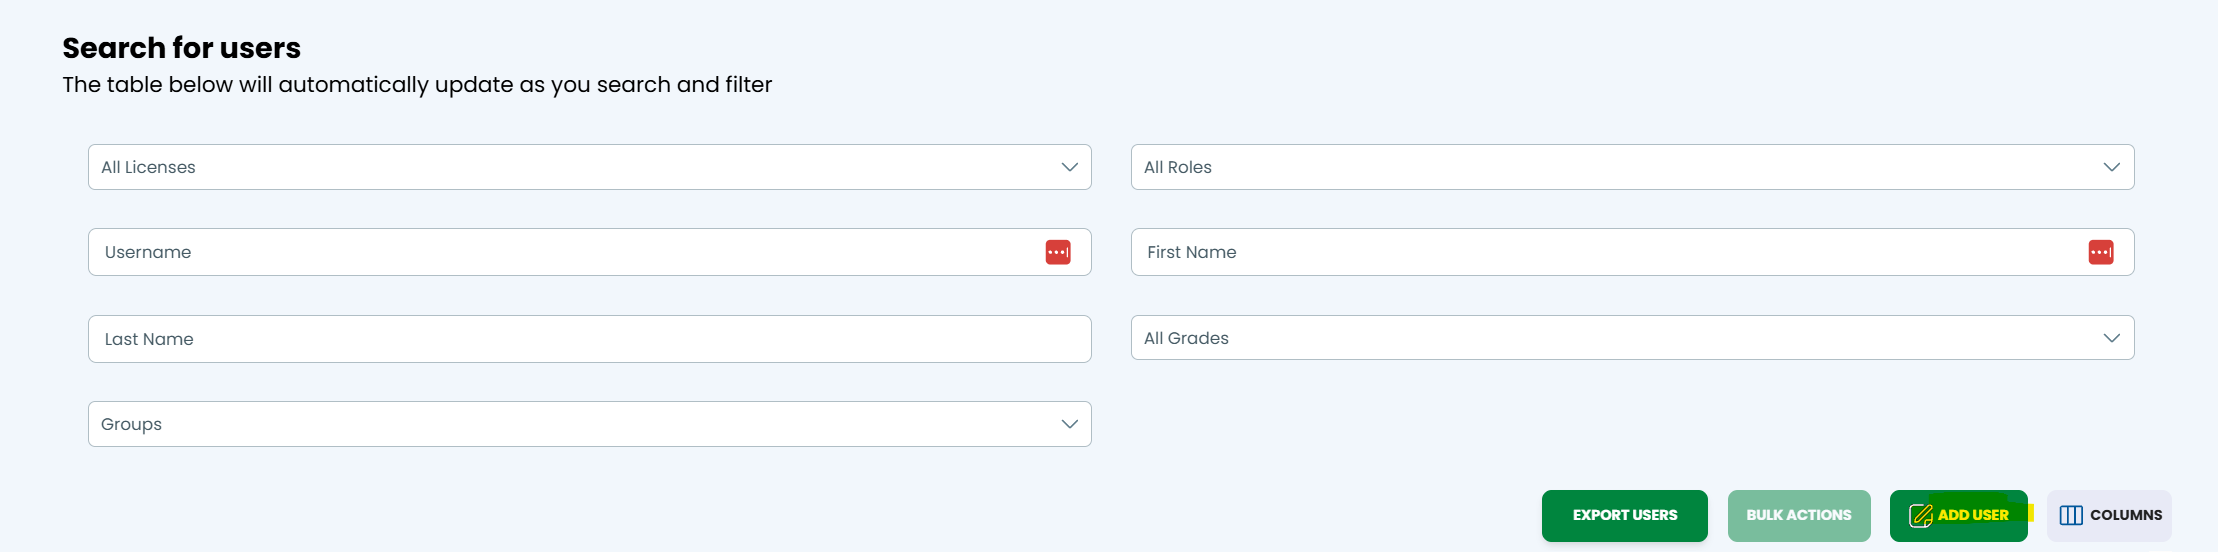
Select Add User in the bottom right corner.
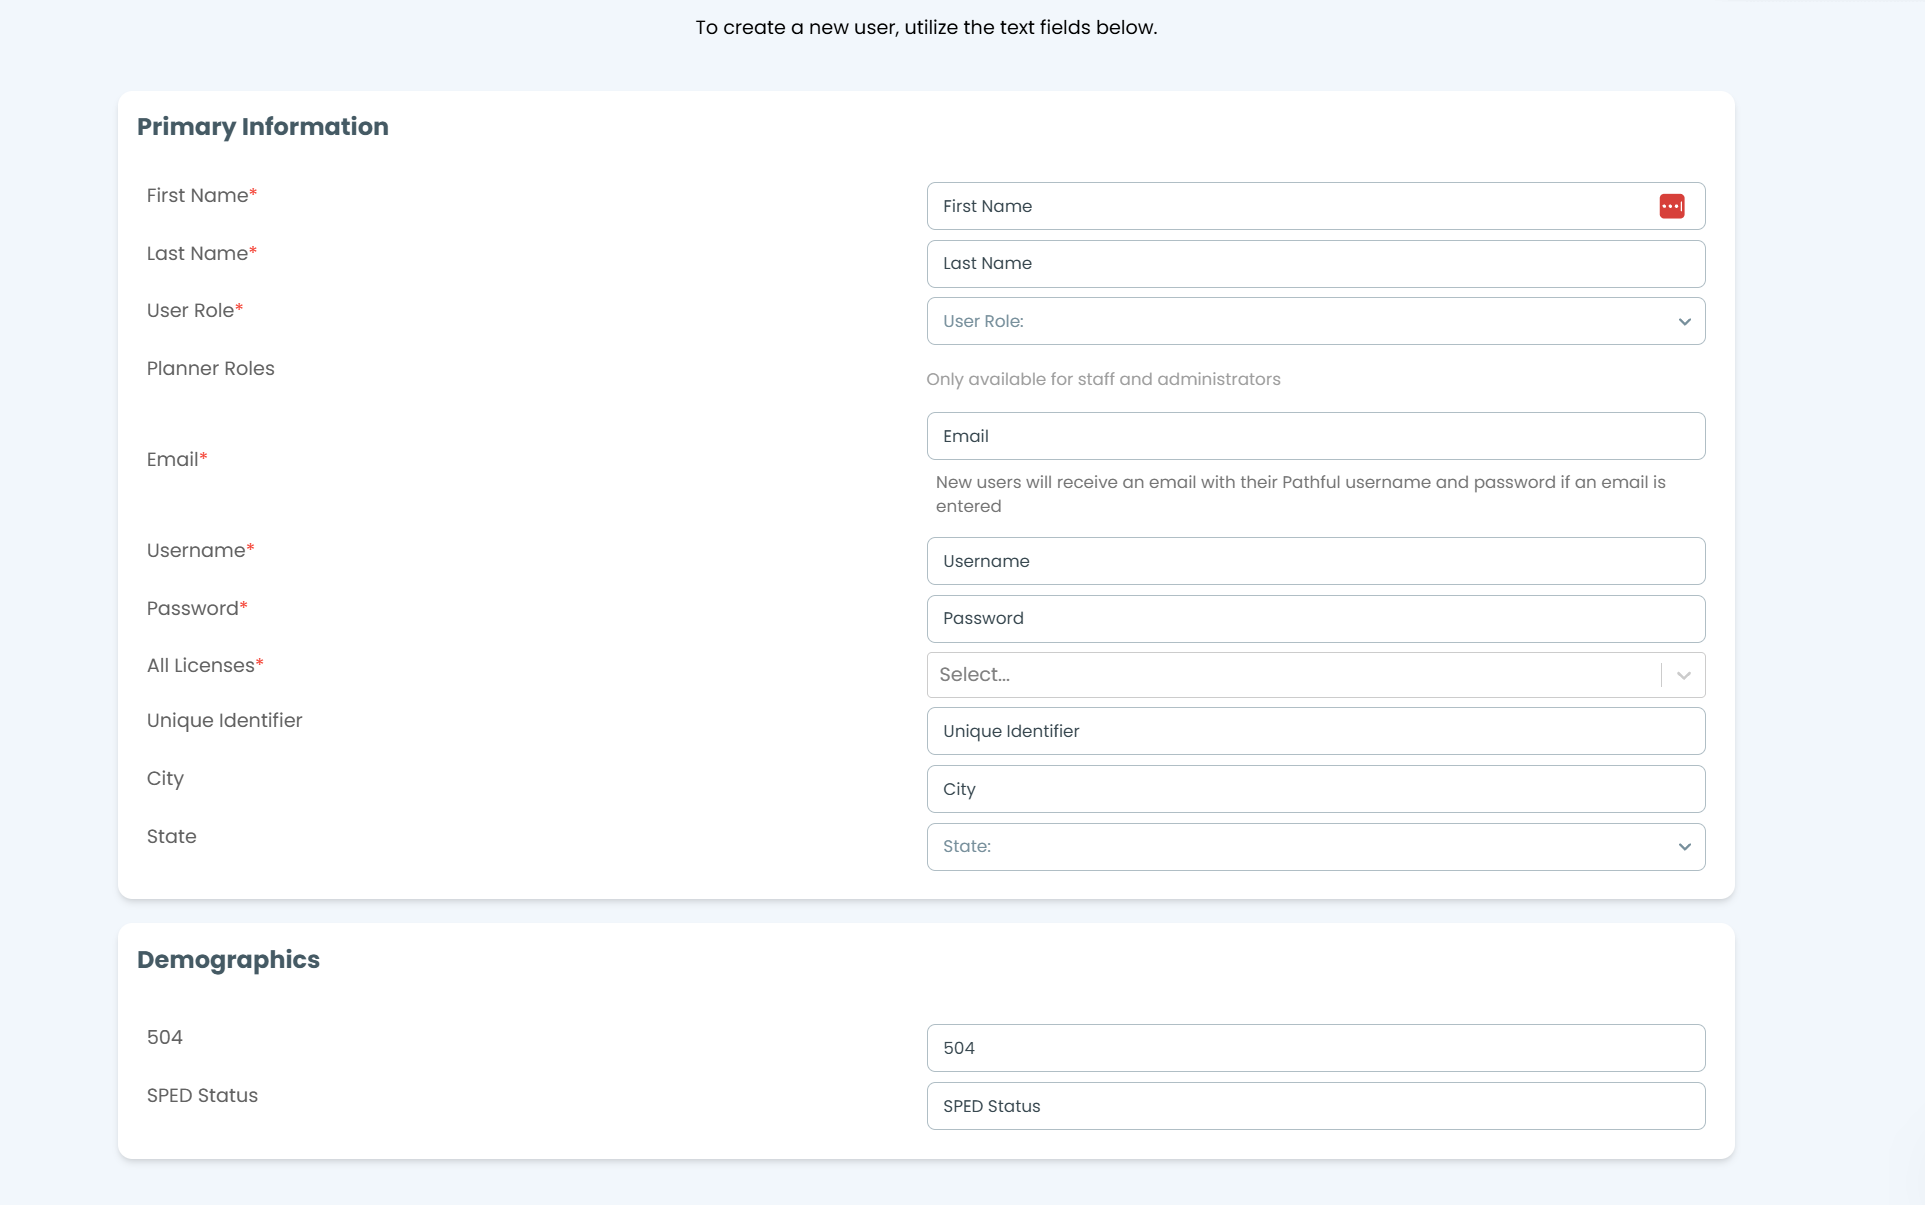
Complete all required fields and any additional fields as needed. Required fields may change based on the selected user role. Note: "user" in user role refers to a student.
Select Create.
Select Back to return to the User Management page.
Edit Account:
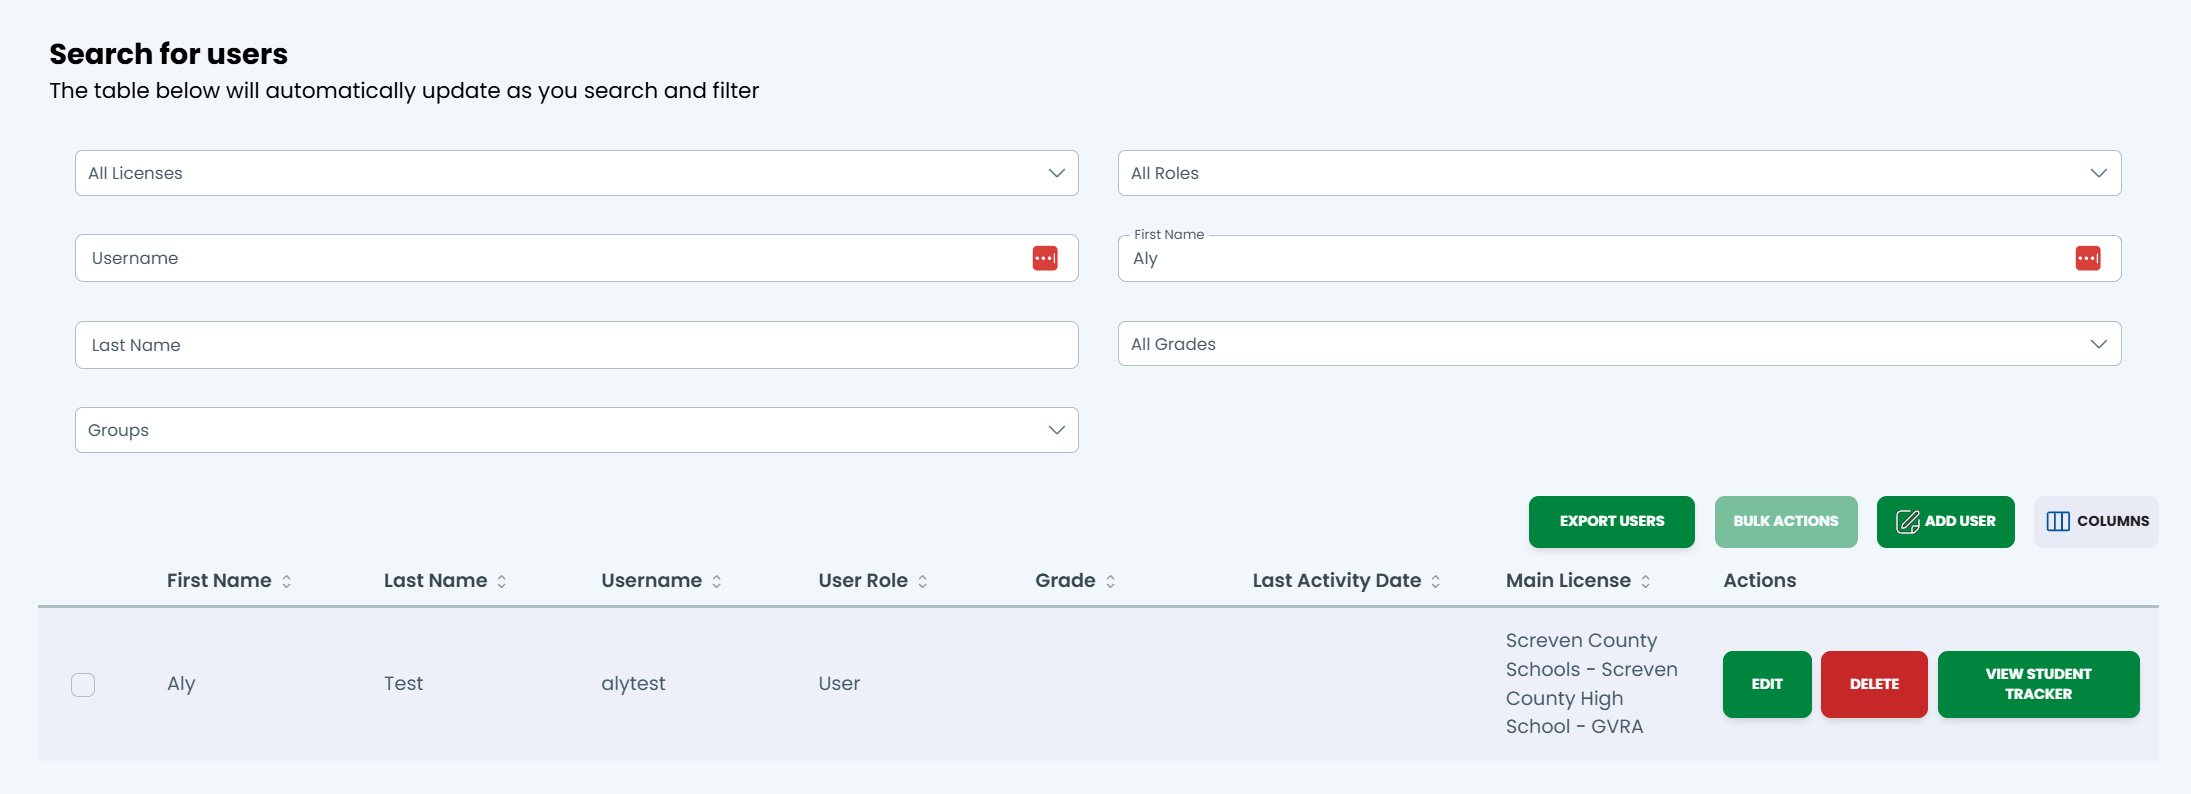
Using any of the filter categories, search for the student.
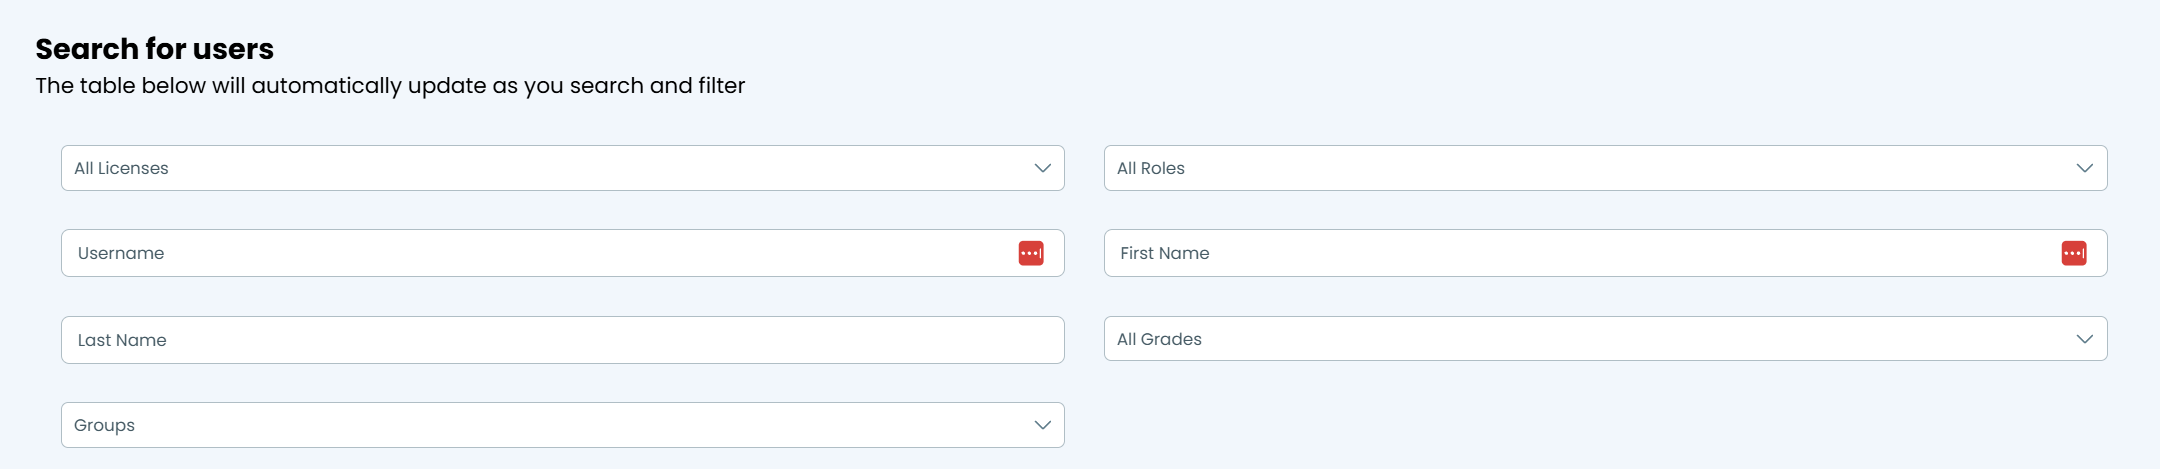
When intended user populates, select Edit on the right side of the student row.
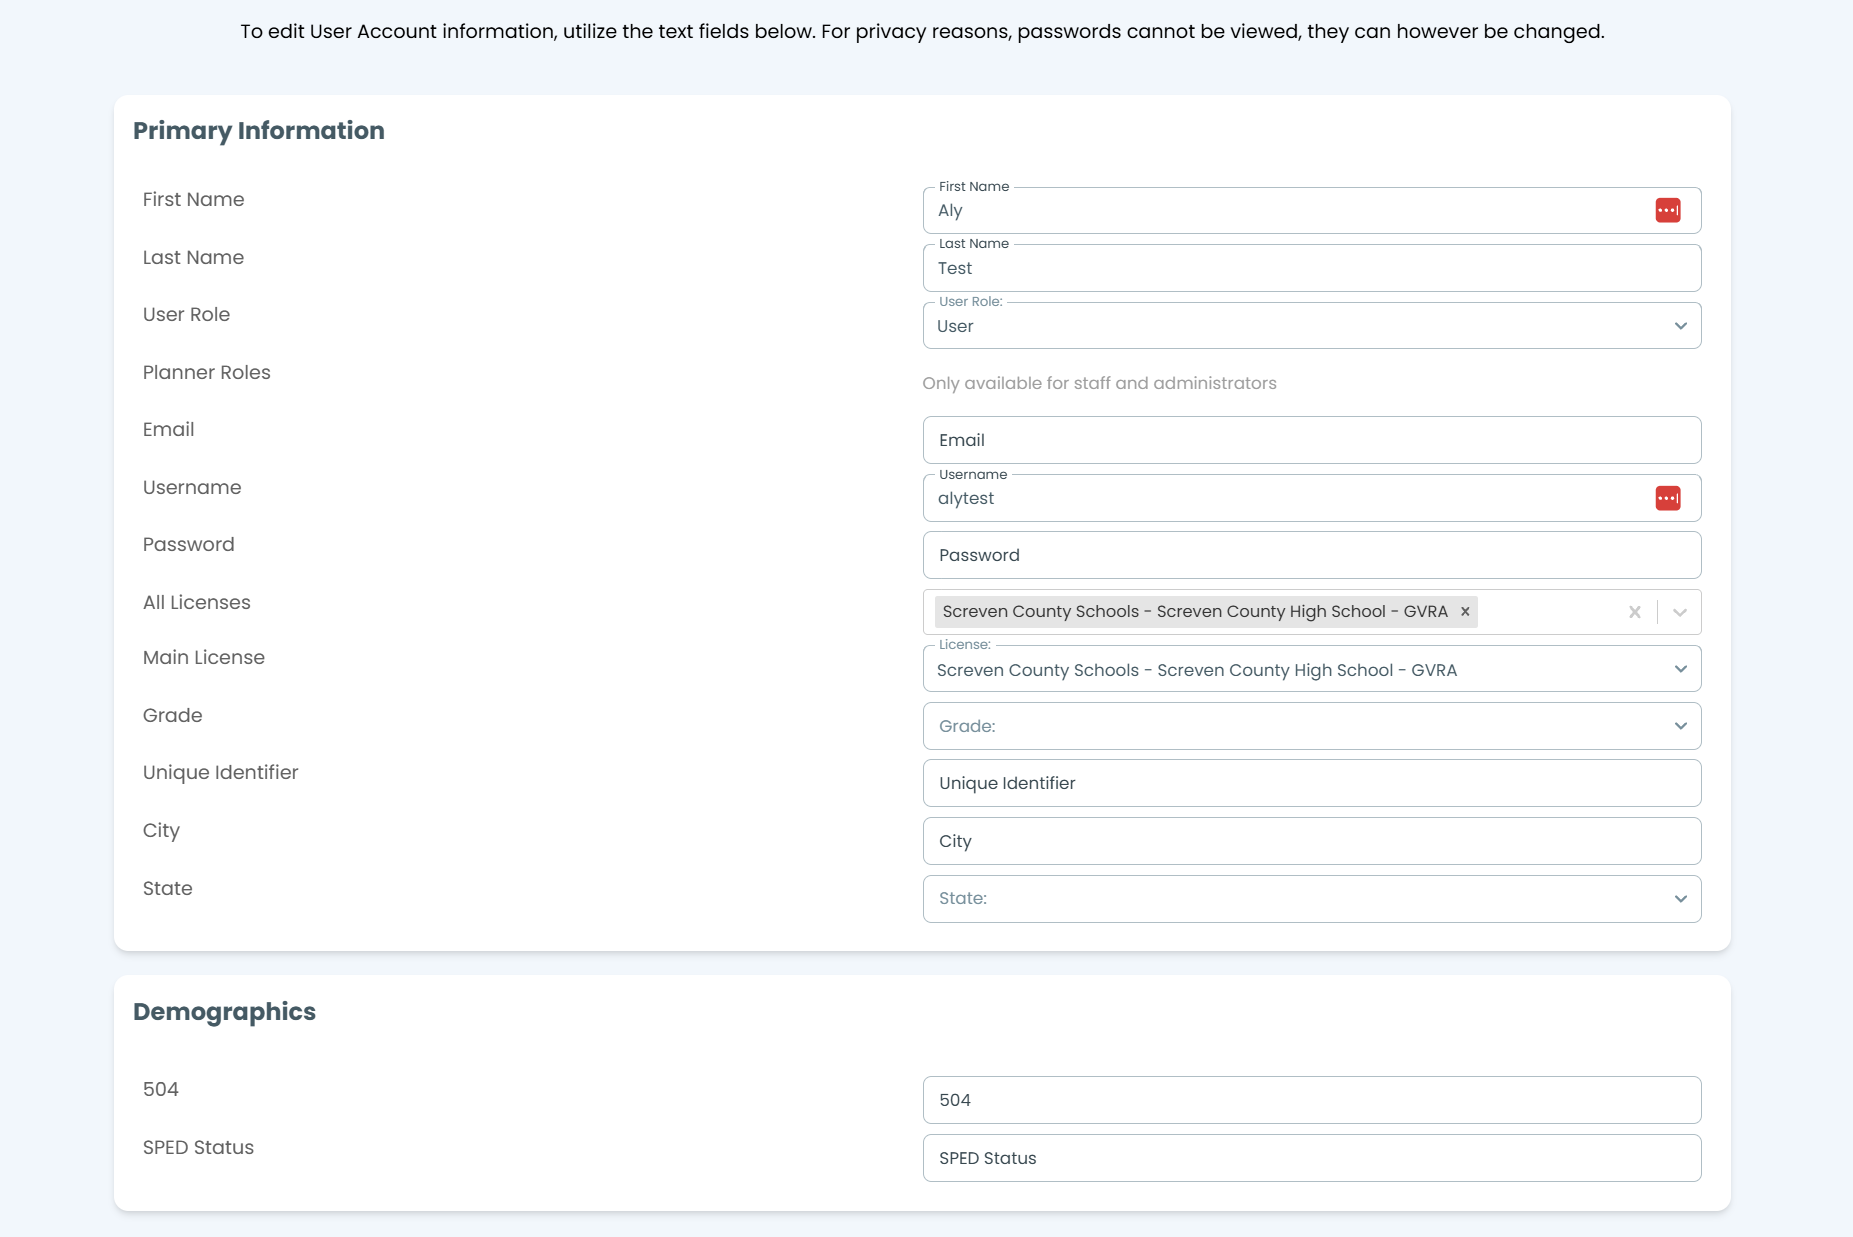
The following page appears where you can manipulate user information.
Bulk Actions:
Depending on your account privileges, one can make changes to staff or users. The following example is bulk changing Users.
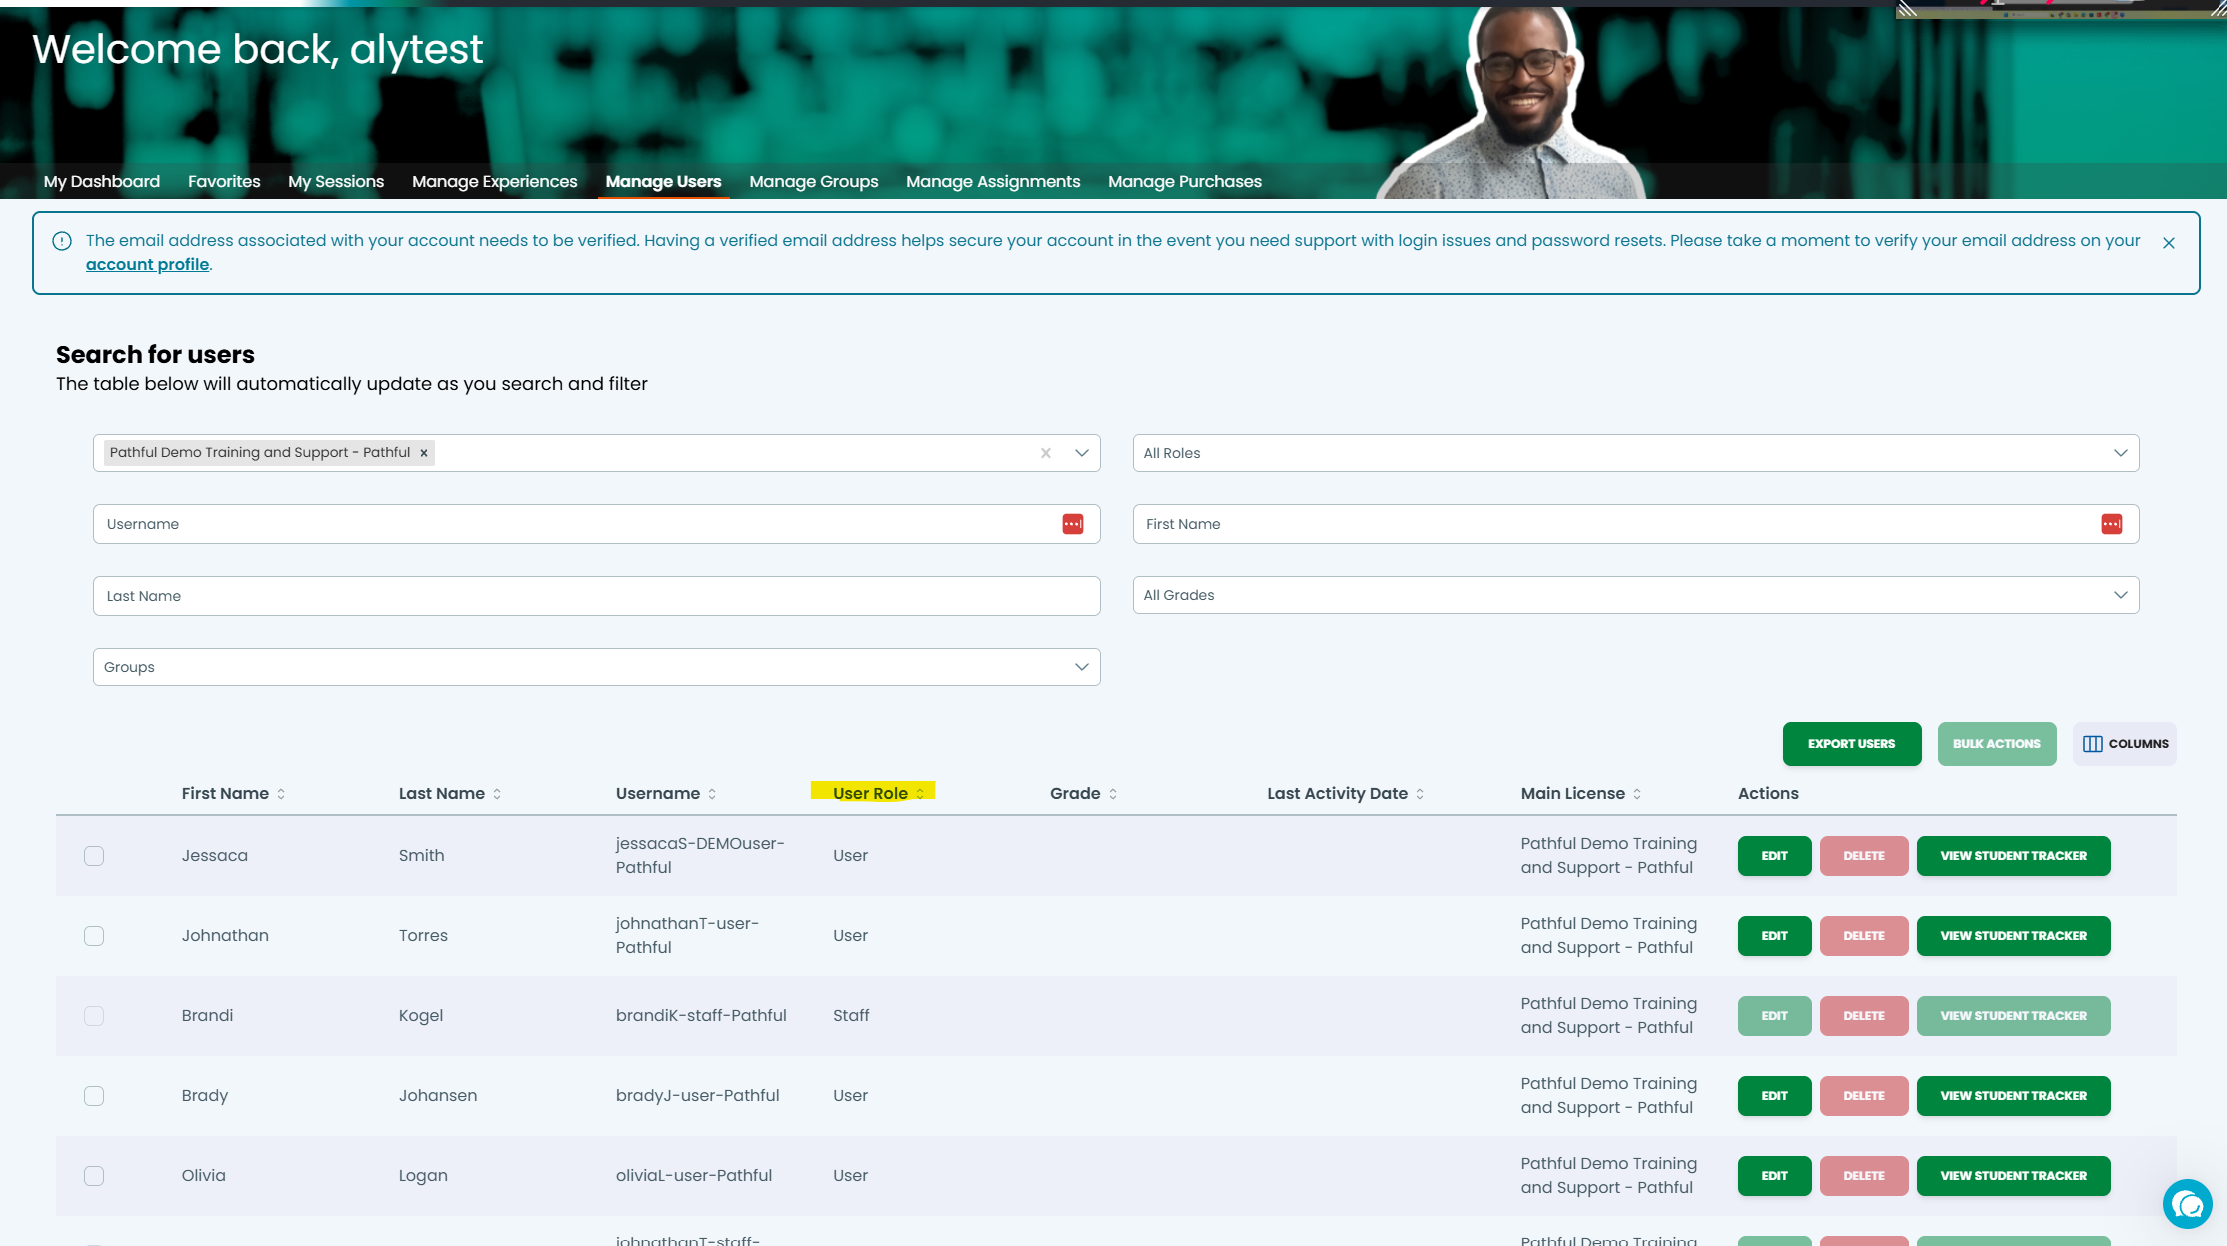
From the Manage Users page, select the User Role filter to adjust the filter to show results alphabetically. You may need to click this twice to show Users over Staff/Admins.
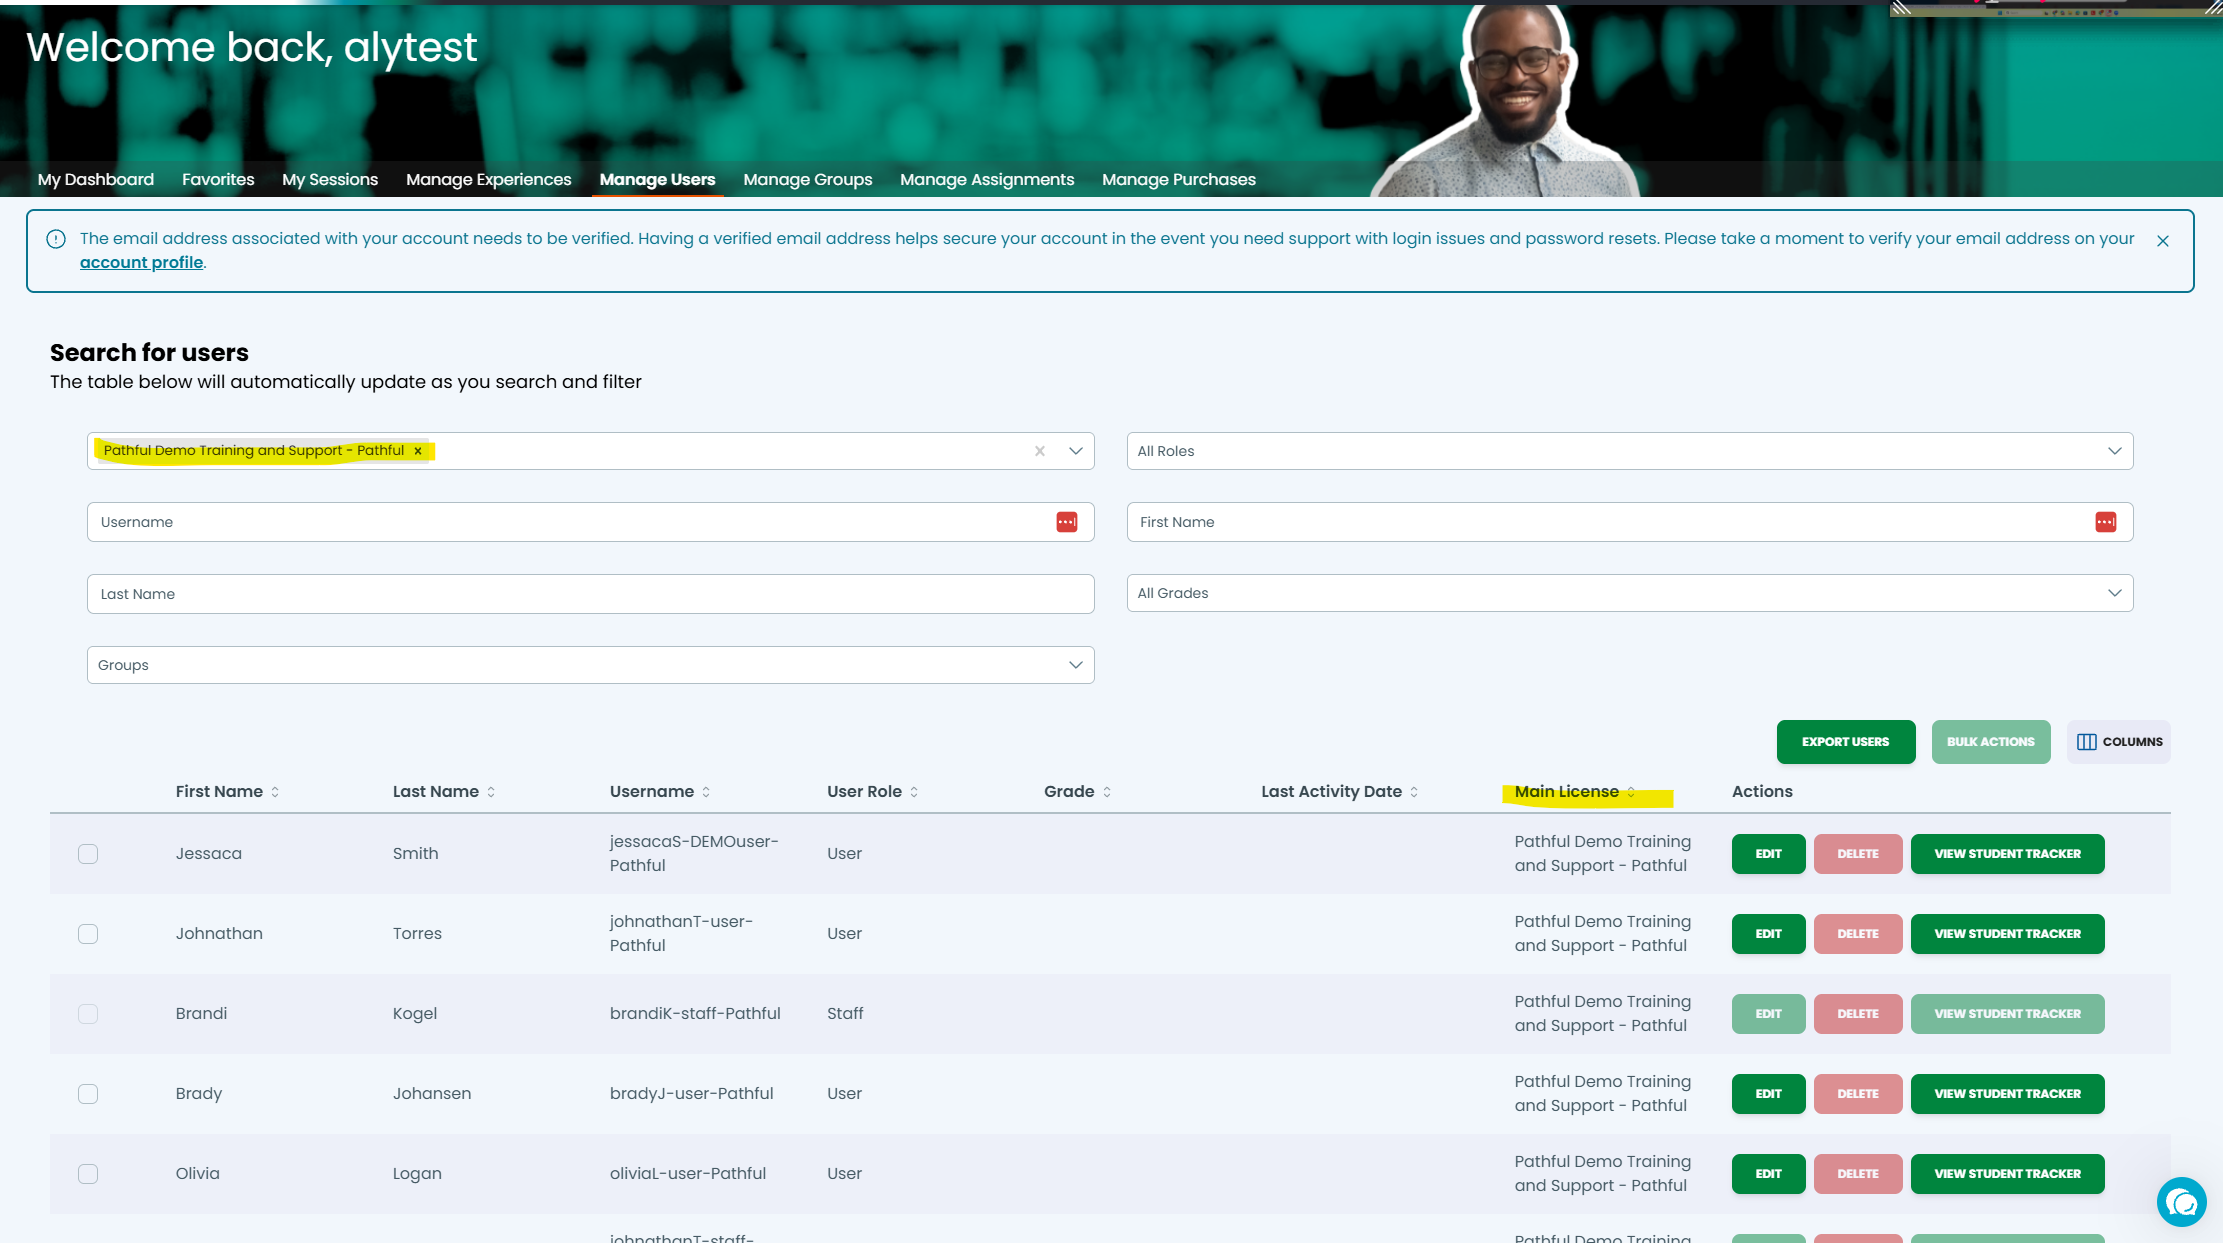
You can also filter to just a specific school license, with the following filters:
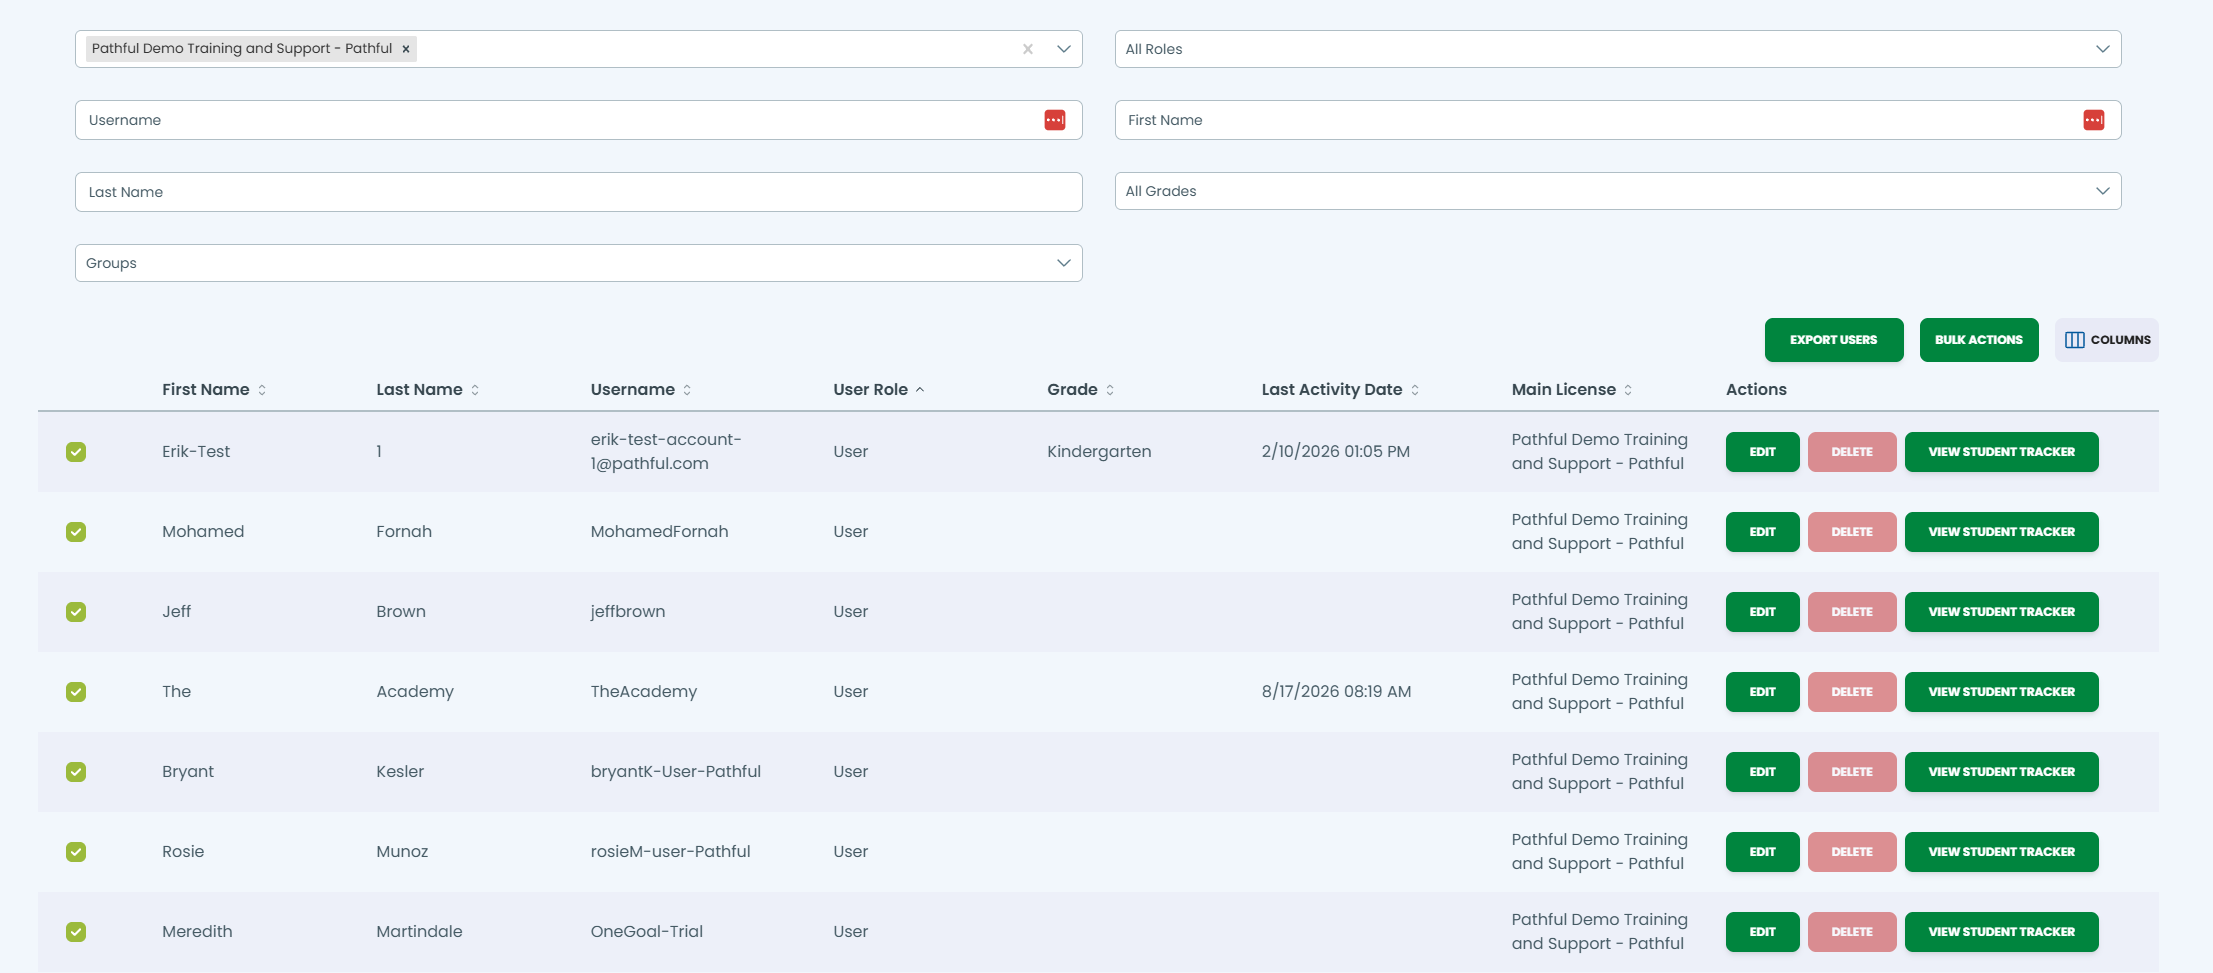
Once you have the desired users, select them from the checkbox on the lefthand side:
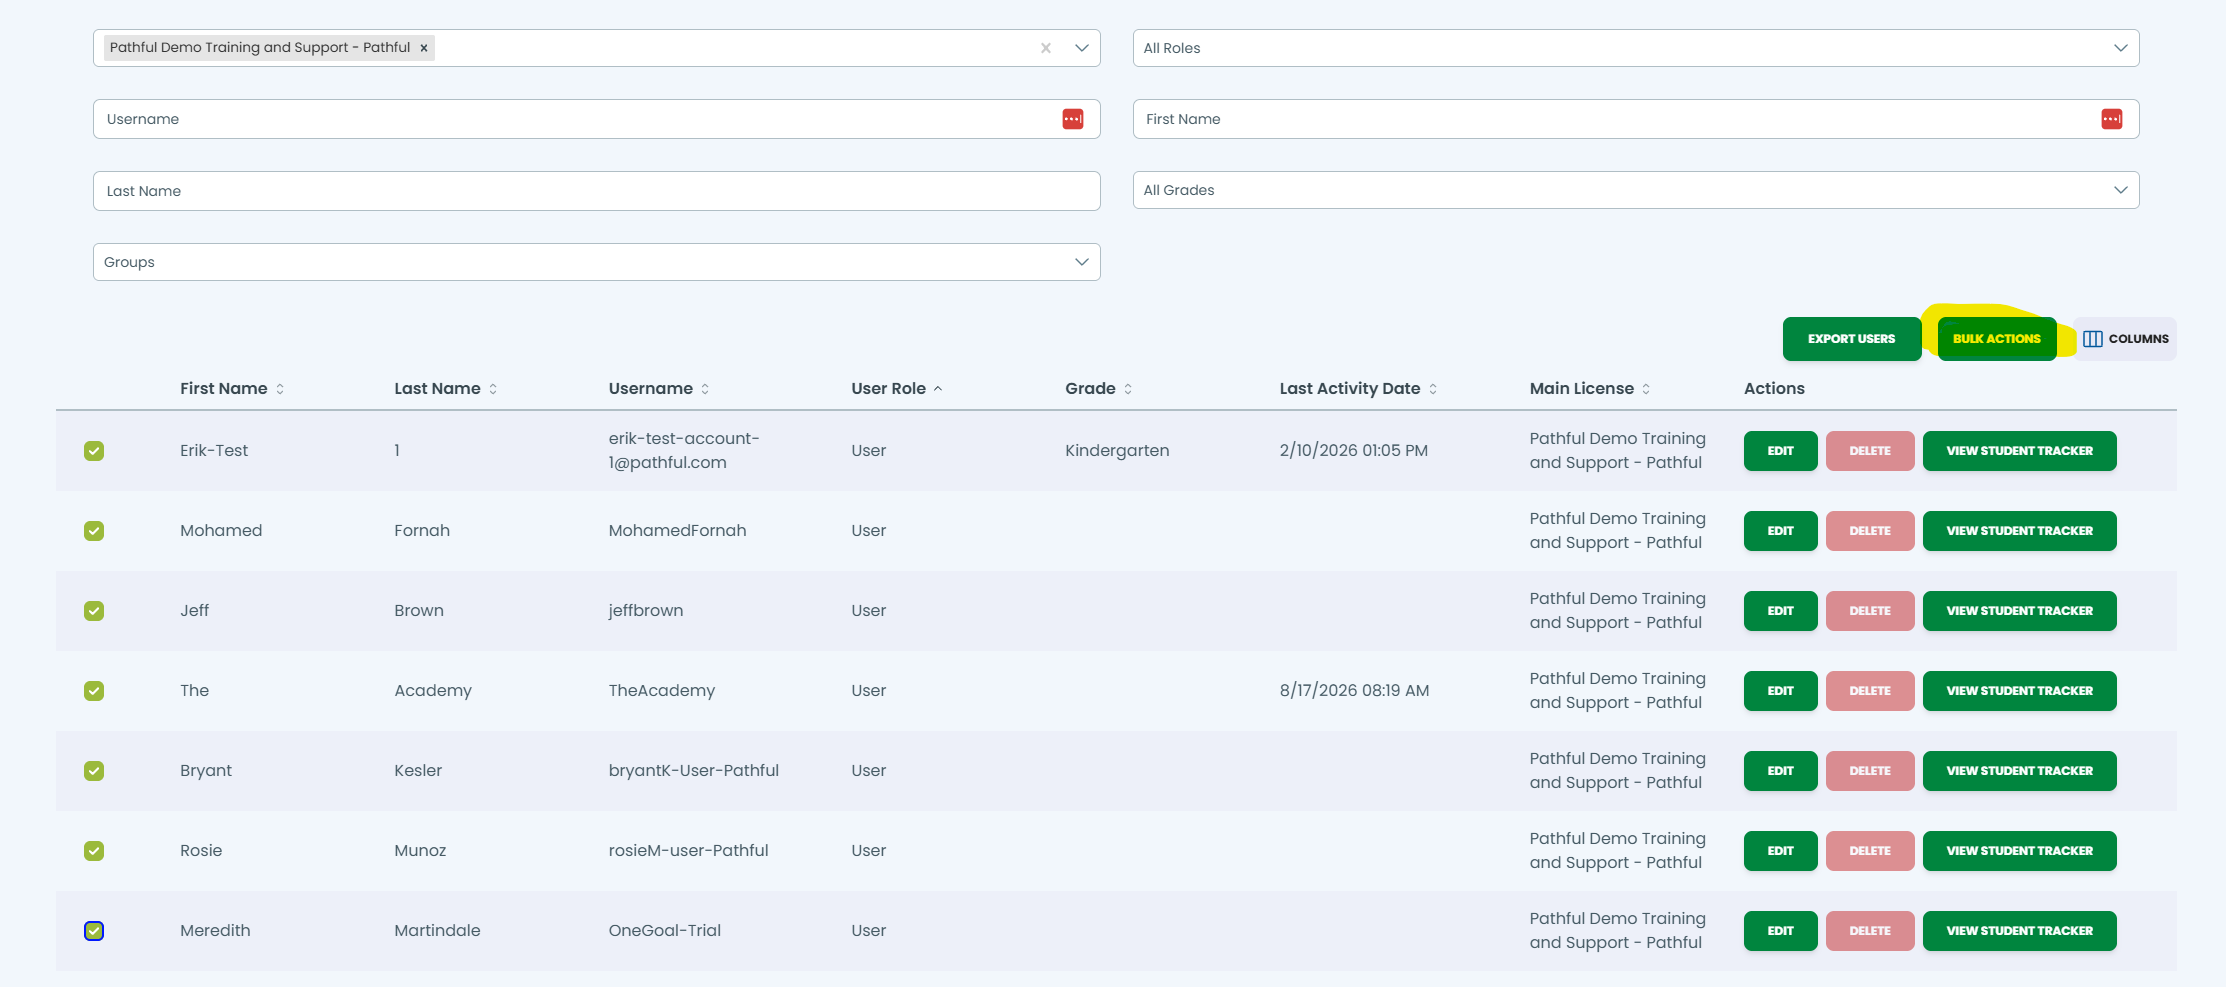
Once all desired users are selected, click the Bulk Actions button:
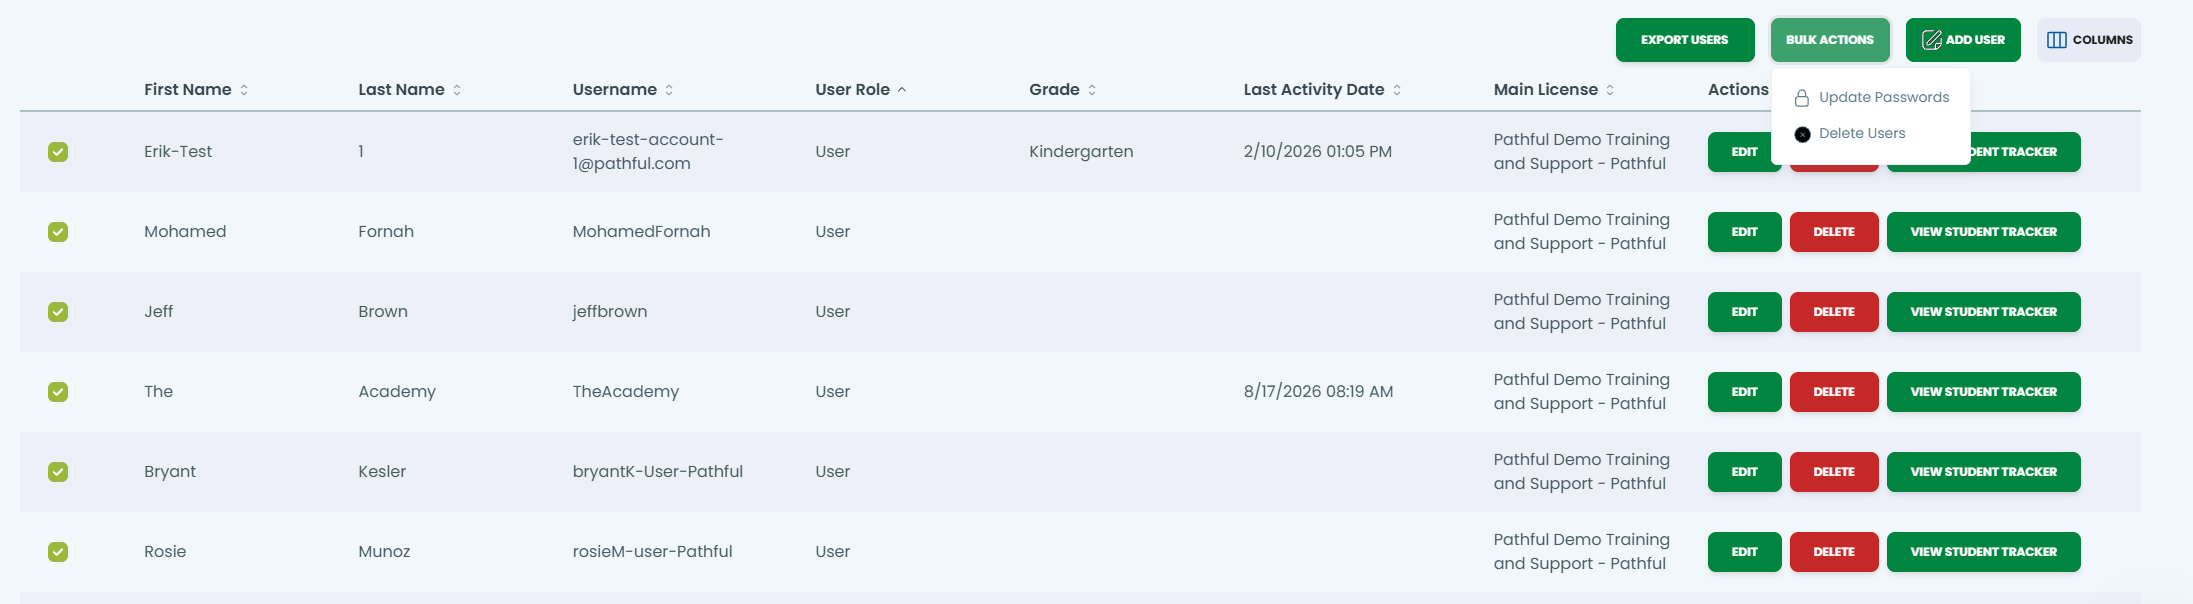
The following options appear:
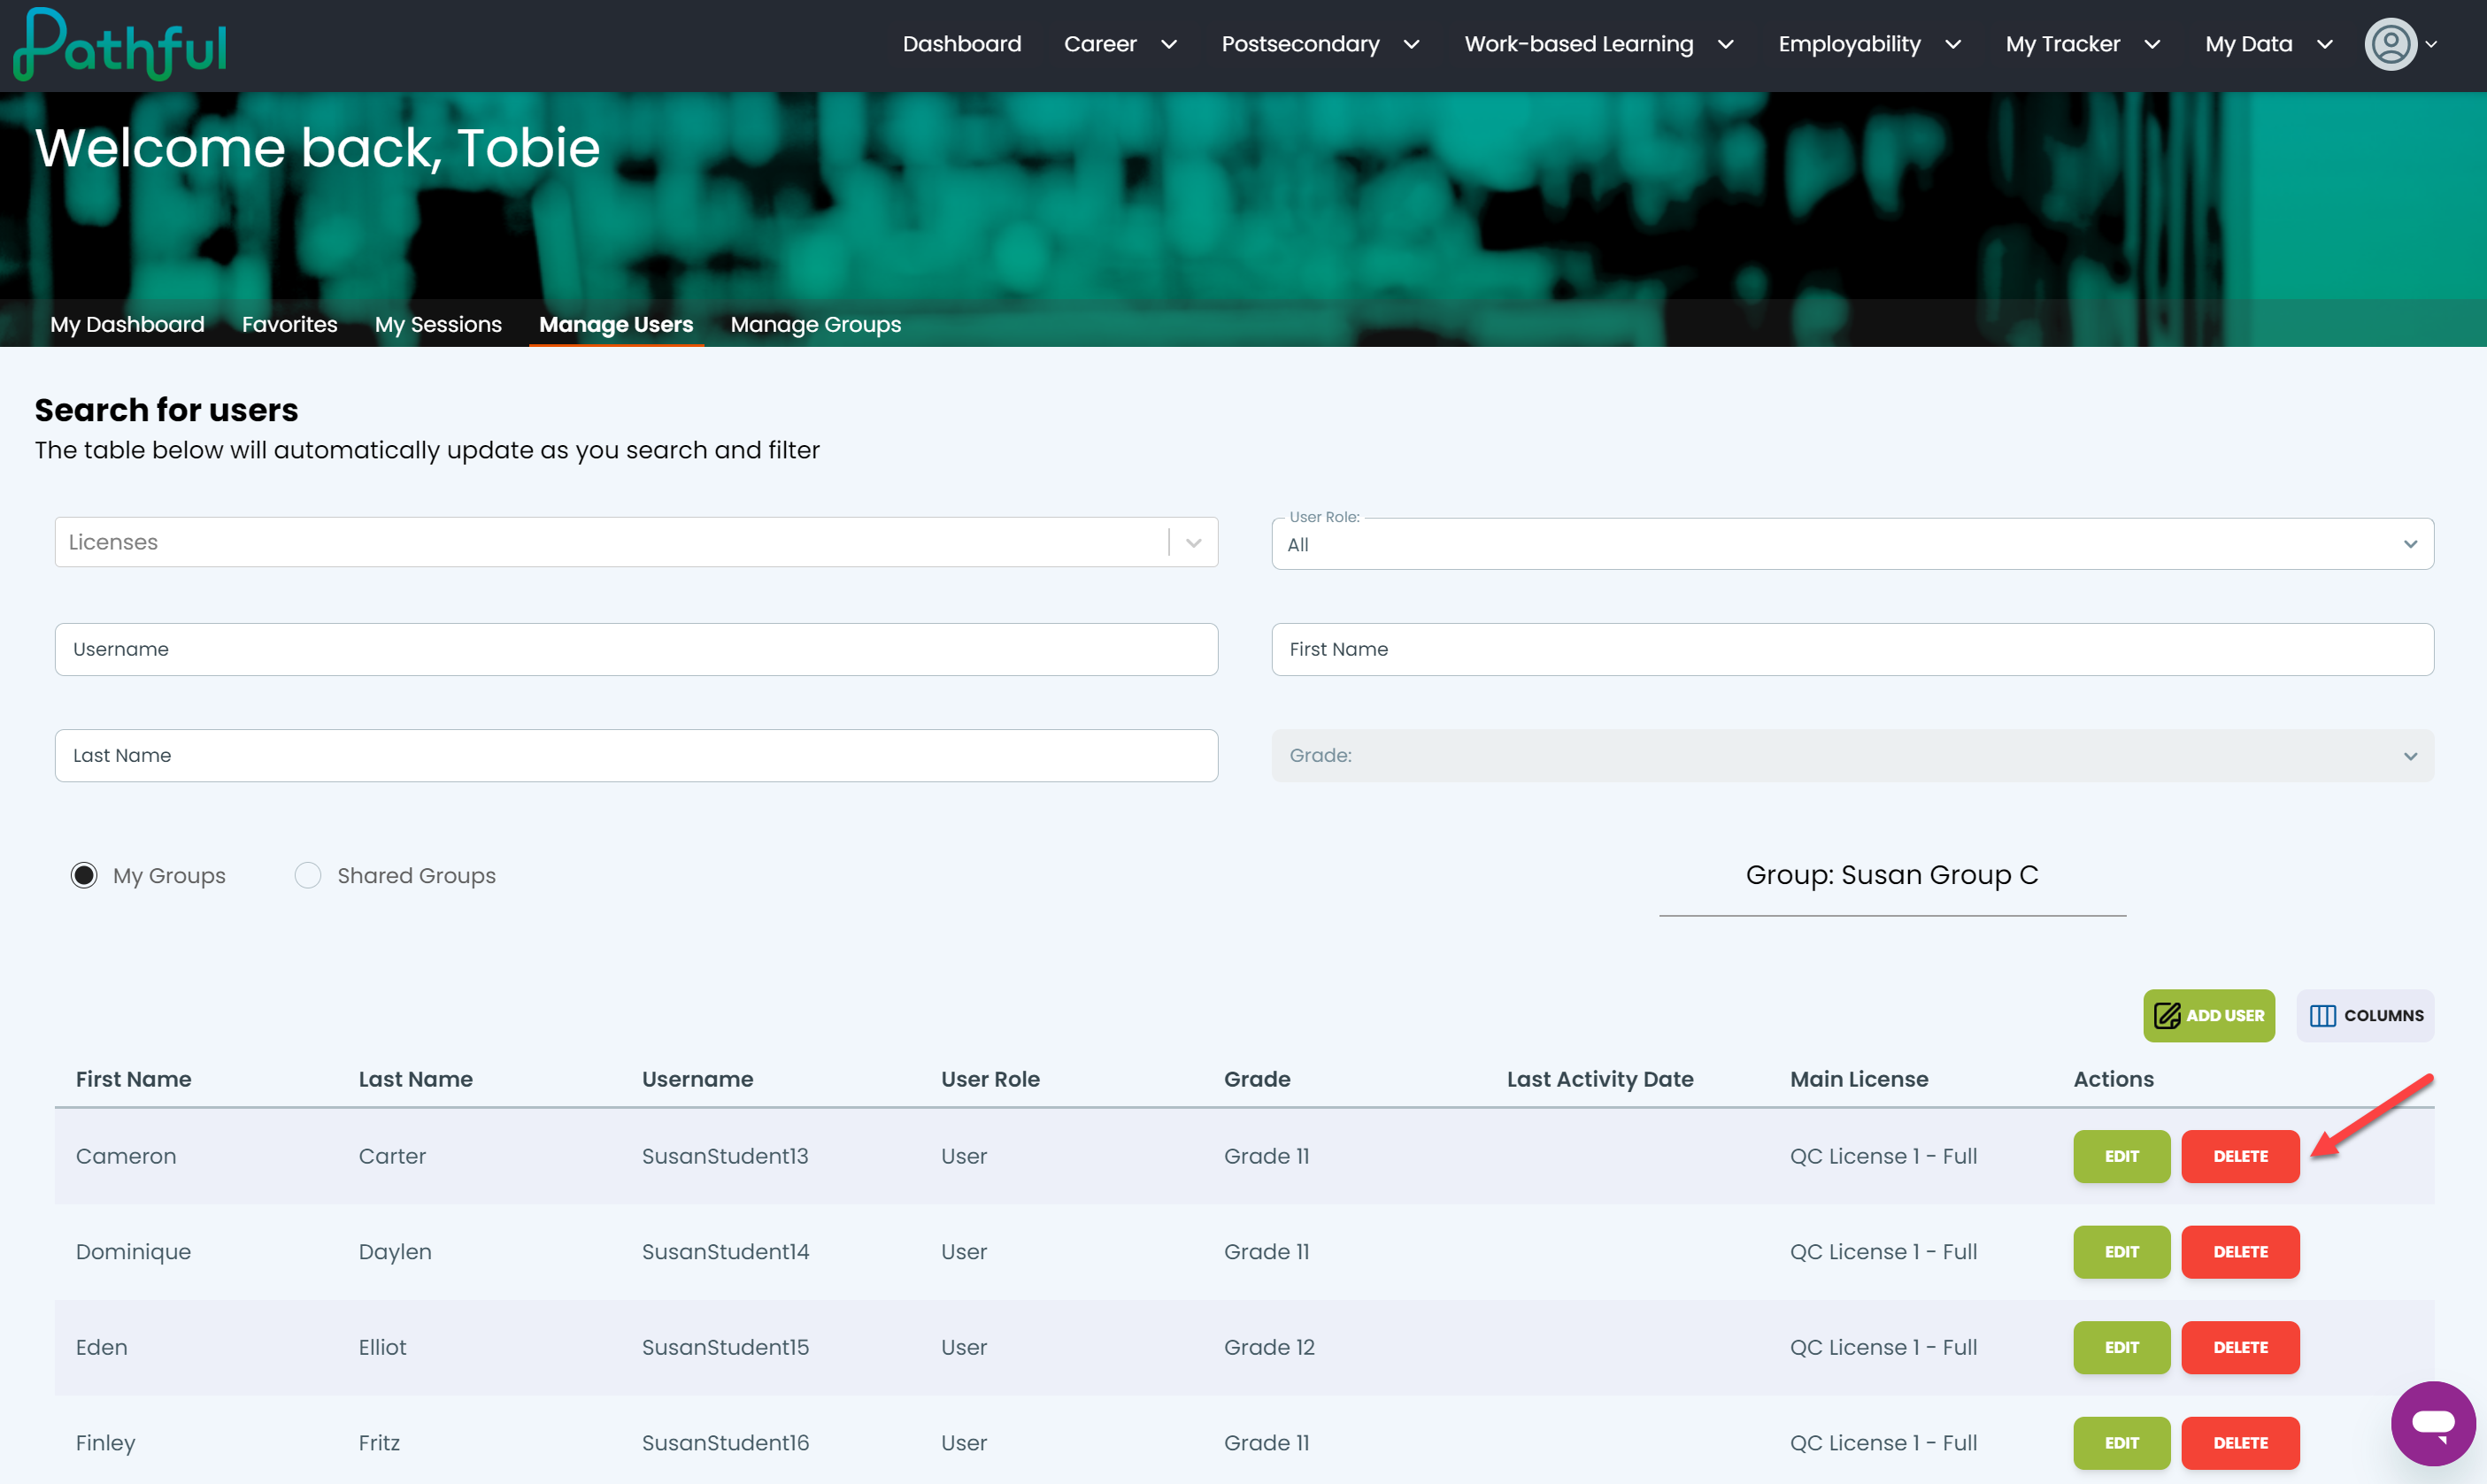
Delete a User:
Under the Actions column, select Delete.
In the pop-out window, select Confirm to delete the student. Note: when you delete a student, it is permanent. It can take up to 3 hours for your change to be effective.
Bulk Deleting Users:
From the Manage Users page, select desired Users checkbox on the left hand side:
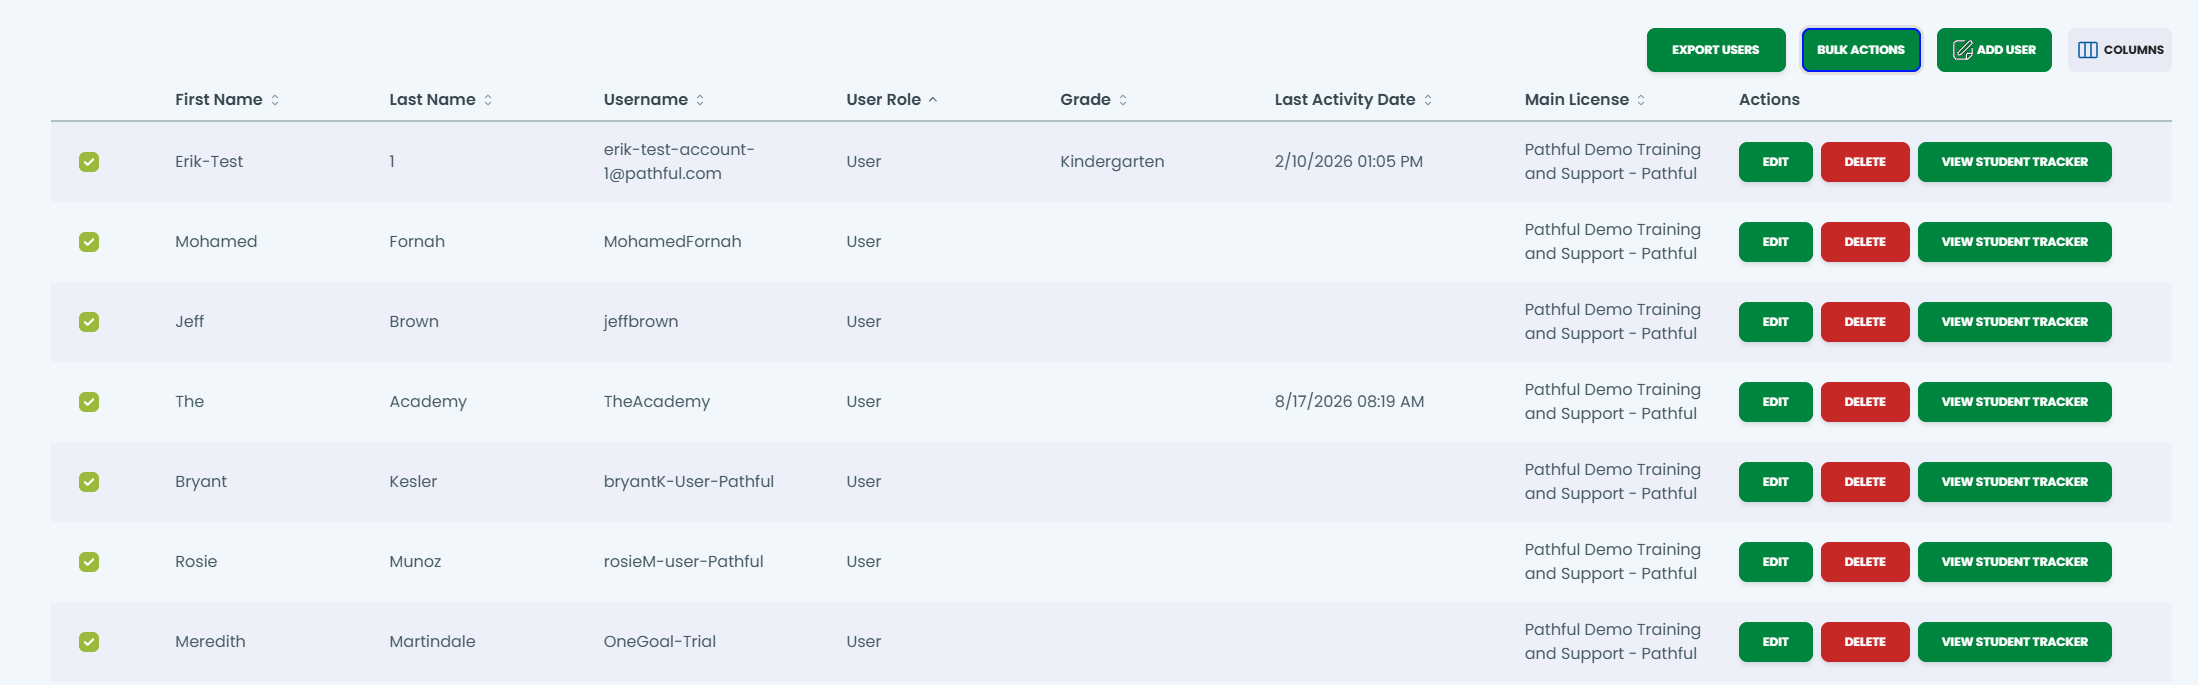
Click the Bulk Action button:
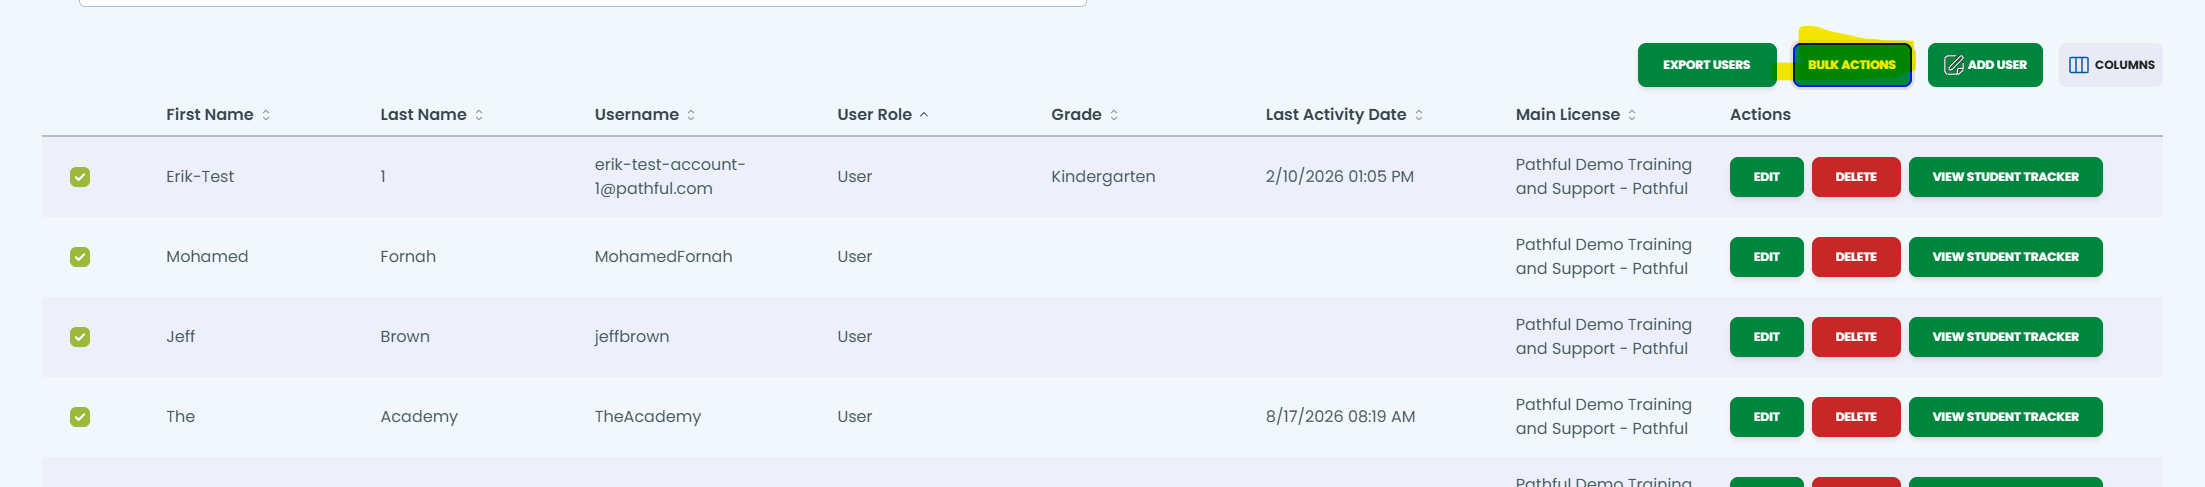
Select Delete:
Was this helpful?
Still need help? Ask the team