Overview of Student Landing Page
This article provides an overview of the filters and features found on the Students page as used by a Counselor.
Last updated 3 months ago
Overview of Student Landing Page
The Students Landing Page provides an overview of all the students with whom you share a license.
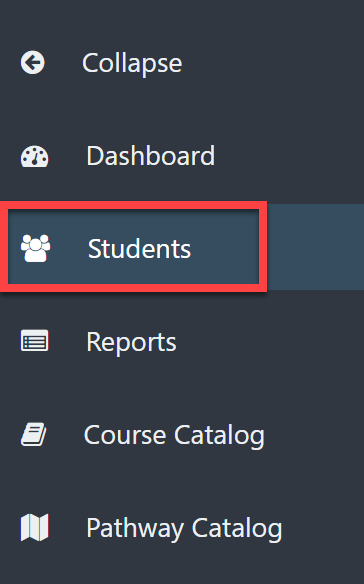
From your Dashboard, select Students.
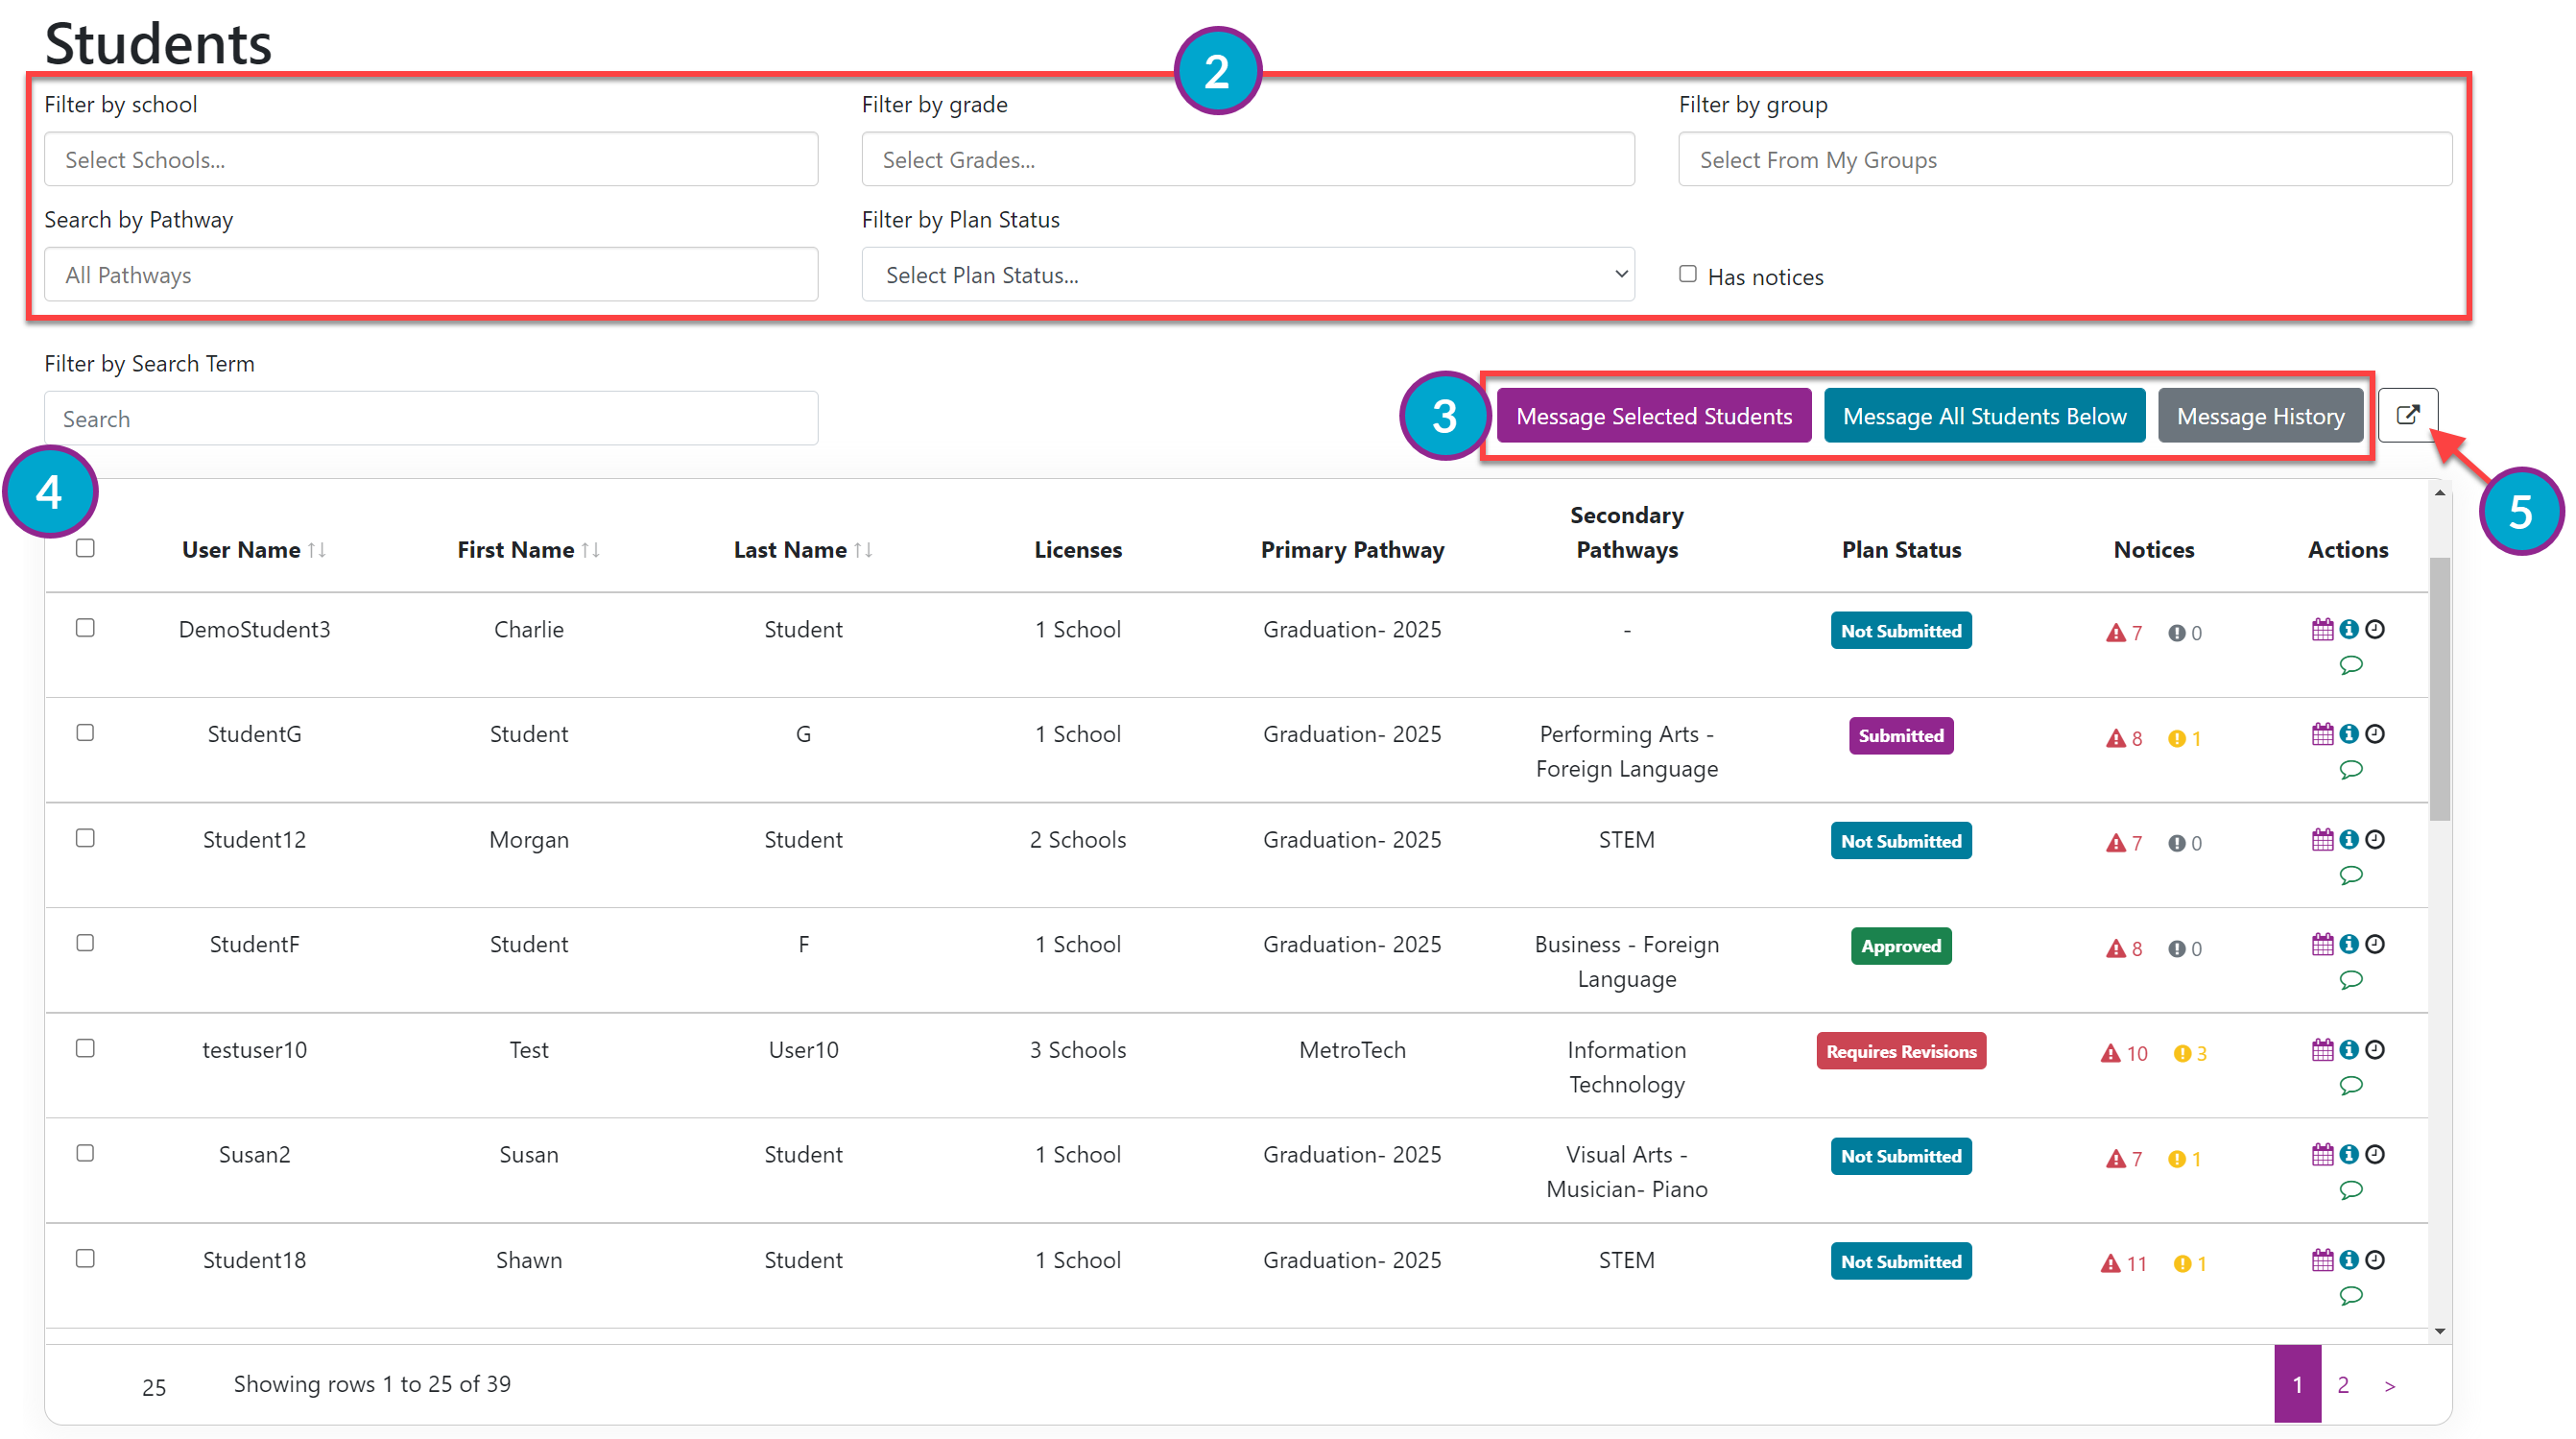
You can search by applying filters.
Filter by School: this is used if you have access to more than one license (i.e., school).
Filter by Grade
Filter by Group
Search by Pathway
Filter by Plan Status
Has Notices (checkbox)
Filter by Search Term: you can type a student's name directly into the search box.
You can Message Students and see your Message History.
Message Selected Students: choose the students you want to message by searching or using the filters
Message All Students Below: select all students in the displayed list
Message History: see a list of all the messages you have sent
Refer to Send a Message to a Student or Send a Message to a Group of Students for more information.
The Students table shows the following information and is based on the applied filters:
User Name
First Name
Last Name
Licenses
Primary Pathway
Secondary Pathways
Plan Status
Notices
Actions
Go directly to a specific student's Course Plan (Planner icon)
Set Student Settings ("i" Information icon)
Go directly to a specific student's Change Log (Clock icon)
Send a Message to a specific student (Quote bubble icon)
Export Data
Select the Export icon in the upper right to export the data in the Students table to Excel.